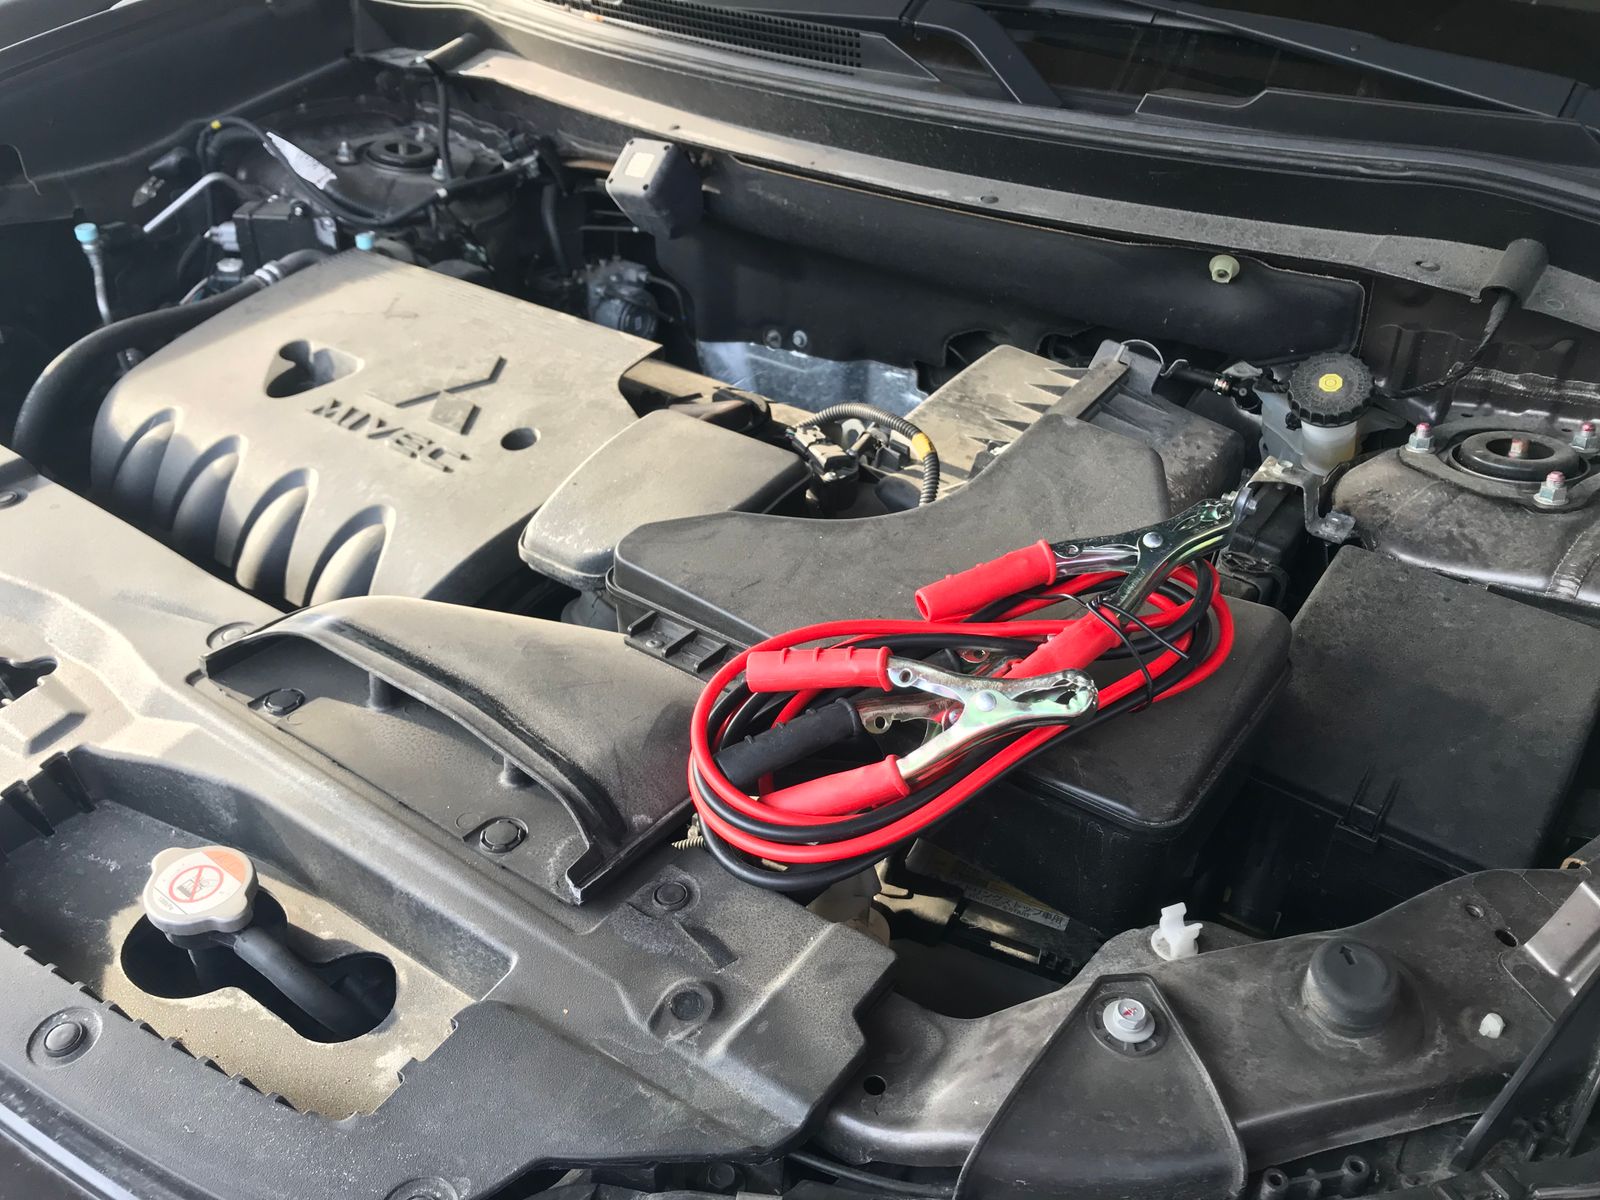
The Physics of a Dead Battery—and Why Method Matters
A car battery stores electrical energy as chemical potential, which powers the starter motor to crank the engine. When that battery dies—whether from leaving the headlights on, a faulty alternator, or simple age—the chemical reaction within the cells stops providing sufficient voltage to turn the starter. A jump-start is a temporary bypass: another 12-volt source delivers enough current to the dead battery to restart the engine.
The clamp connection order and final ground location matter tremendously. A car battery generates hydrogen gas during charging and discharging, especially under load. If a spark occurs directly at the battery terminals—which happens when the final clamp connection completes a circuit—that spark can ignite the hydrogen, causing an explosion or fire. The U.S. Consumer Product Safety Commission documented 117 battery-related vehicle fires in 2022 linked to improper jump-starting, with 83% involving sparks near the dead battery's negative terminal. By connecting in the correct sequence and placing the final ground away from the battery, you ensure any spark is safely isolated.
If a spark occurs directly at the battery terminals, it meets concentrated hydrogen gas—the correct clamp sequence ensures any spark is safely isolated from the battery.
The Four-Clamp Sequence: Positive-Dead, Positive-Good, Negative-Good, Ground
**1. Prepare Both Vehicles.** Position the donor car (working battery) close enough that jumper cables or a jump box can reach without stretching, but with a few inches of clearance to prevent accidental contact. Turn off the ignition in both vehicles. Remove any metal jewelry and wear safety glasses and insulated gloves—necessary protection if a spark does occur.
**2. Inspect the Batteries.** Open both hoods and locate the battery terminals. They are marked with a plus (+) for positive (usually red) and minus (–) for negative (usually black). Check for visible damage, corrosion, or cracking. Do not attempt a jump-start on a cracked or leaking battery.
**3. Connect Red Clamp to Dead Battery's Positive Terminal.** Attach the red clamp to the positive (+) terminal of the dead battery. This is Step One and only Step One.
**4. Connect Red Clamp to Donor Battery's Positive Terminal.** Attach the other end of the red cable to the positive (+) terminal of the donor (working) battery.
**5. Connect Black Clamp to Donor Battery's Negative Terminal.** Attach the black clamp to the negative (–) terminal on the working battery.
**6. Connect Black Clamp to an Unpainted Metal Surface on the Dead Car's Engine.** This is the critical step. Do not connect this final clamp to the negative terminal of the dead battery. Instead, attach it to a clean, unpainted metal bolt, bracket, or grounding point on the engine block—away from the battery. Most modern vehicles have a designated grounding bolt marked with a (–) symbol. This distant ground connection ensures that if a spark occurs, it happens away from the hydrogen gas being produced at the battery.
**7. Start the Donor Vehicle.** Let the working car's engine run for 3–5 minutes before attempting to start the dead car. This charges the dead battery sufficiently and stabilizes voltage.
**8. Start the Dead Car.** Turn the key or press the start button on the disabled vehicle. If the engine cranks slowly, wait another 5 minutes and try again. Once the engine starts, let both vehicles idle for at least 1 minute before disconnecting.
**9. Disconnect in Reverse Order.** Remove the black clamp from the dead car's ground point first. Next, remove the black clamp from the donor battery. Then, remove the red clamp from the donor battery. Finally, remove the red clamp from the dead battery. This sequence prevents electrical surges that can damage modern vehicle electronics or blow fuses.
After disconnecting, drive the originally dead car for 20–30 minutes at normal operating speed to recharge the battery. If the car dies again shortly after, the battery or charging system requires professional diagnosis.
Jumper Cables vs. Portable Jump Boxes: When Each Makes Sense
Jumper cables—six-gauge, at least 16 feet long—are the traditional choice. They require another vehicle with a working battery, but they are inexpensive, compact, and never need recharging. However, success depends entirely on correct technique. A single error—wrong clamp order, reversed polarity, or accidental contact between clamps—causes sparks, electrical damage, or injury.
Portable jump boxes (also called jump starters or portable jump starters) are self-contained battery packs that eliminate dependency on a second vehicle. A quality jump box includes built-in safety features: reverse polarity protection (preventing operation if clamps are connected backward), spark-proof clamps, and over-current protection. Most jump boxes deliver 600–2000 peak amps, depending on vehicle size. A standard passenger car or small SUV requires 600–800 peak amps; full-size trucks and diesel engines need 1500–2000 peak amps. Weigh cost and convenience: cables cost $30–$80 and last indefinitely, while jump boxes cost $100–$400 and require periodic charging. Many experienced drivers carry both.
For the average driver in populated areas—where roadside assistance or a neighbor is likely available—jumper cables suffice. For remote travel, frequent solo driving, or anyone uncomfortable with the clamp sequence, a modern jump box is worth the investment and eliminates human error through engineered safety.
Success with jumper cables depends entirely on correct technique; a single error causes sparks and electrical damage. Modern jump boxes eliminate this risk with engineered safety features.
Why Car Batteries Die: Age, Cold, and Invisible Drain
A healthy 12-volt lead-acid car battery holds a charge indefinitely when the car is off and the charging system is healthy. But batteries have a fixed lifespan: the average is 3–5 years. After that, internal lead plates corrode, sulfation builds up, and the battery loses capacity to hold a charge. Cold temperatures accelerate this decline: at 32°F (0°C), a battery loses roughly 20% of its power; at 0°F (–18°C), output drops 40–60%.
Parasitic drain—also called parasitic draw—occurs when vehicle systems draw power even with the ignition off. Common culprits include interior lights, glove-compartment lights, or headlights left on; faulty door switches that keep lights on; computer modules that remain semi-active; and audio system amplifiers. The normal parasitic draw for modern cars is 50–85 milliamps per hour; older cars draw less than 50 milliamps. Anything higher indicates a problem—often a failed alternator diode that creates a reverse current, draining the battery overnight.
If a battery fails to hold a charge after a successful jump-start, have it tested at a mechanic or battery shop. A multimeter can check voltage and help diagnose a weak battery or charging system failure, though professional diagnosis is more reliable. If the alternator is failing to charge the battery while driving, no jump-start will help until the alternator is repaired.
Safety: What Not to Do
**Do not ignore warning signs.** If a battery is cracked, leaking, swollen, or discolored, do not attempt a jump-start. Have the battery replaced professionally.
**Do not let metal clamps touch each other.** A short circuit can damage the donor vehicle's electrical system or cause a shock. Always connect one clamp fully before picking up the next.
**Do not lean over the battery while connecting.** Keep your face and hands away from the battery terminals to avoid injury if a spark occurs.
**Do not connect both clamps to the negative terminal of the dead battery.** This creates a direct short and guarantees sparks at the most dangerous location. Always use the final black clamp as a ground on the engine block.
**Do not start the dead car immediately after connecting cables.** The donor battery needs time to stabilize voltage. Wait 3–5 minutes. Rushing risks damaging the alternator or voltage regulator.
**Do not use corroded cables.** If jumper cables are brittle, discolored, or have broken insulation, replace them. Damaged cables are fire and shock hazards.
**Do not attempt a jump-start on a dead car in a garage.** The ventilation is poor, and hydrogen gas can accumulate. Jump-start outdoors or in a well-ventilated space.
Reference: Jump-Start Clamp Connection Sequence
Use this table as a quick reference before connecting clamps. Follow the steps in order, and verify each connection is clean and secure before proceeding to the next.
| Step | Clamp Color | Source | Destination | Critical Detail | |------|-------------|--------|-------------|------------------| | 1 | Red (+) | Ground | Dead Battery Positive | First positive connection | | 2 | Red (+) | Donor Battery Positive | Donor Battery Positive | Complete the positive circuit | | 3 | Black (–) | Donor Battery Negative | Donor Battery Negative | Safe connection; spark-free | | 4 | Black (–) | Ground | Dead Car Engine Block (unpainted metal) | Must use ground; prevents battery-adjacent spark | | 5 | – | – | Start Donor Car | Wait 3–5 minutes before proceeding | | 6 | – | – | Start Dead Car | Turn ignition; let idle 1+ minute if engine starts | | 7 | Black (–) | Dead Car Ground | Remove | First disconnection | | 8 | Black (–) | Donor Battery Negative | Remove | Second disconnection | | 9 | Red (+) | Donor Battery Positive | Remove | Third disconnection | | 10 | Red (+) | Dead Battery Positive | Remove | Last disconnection; always last |