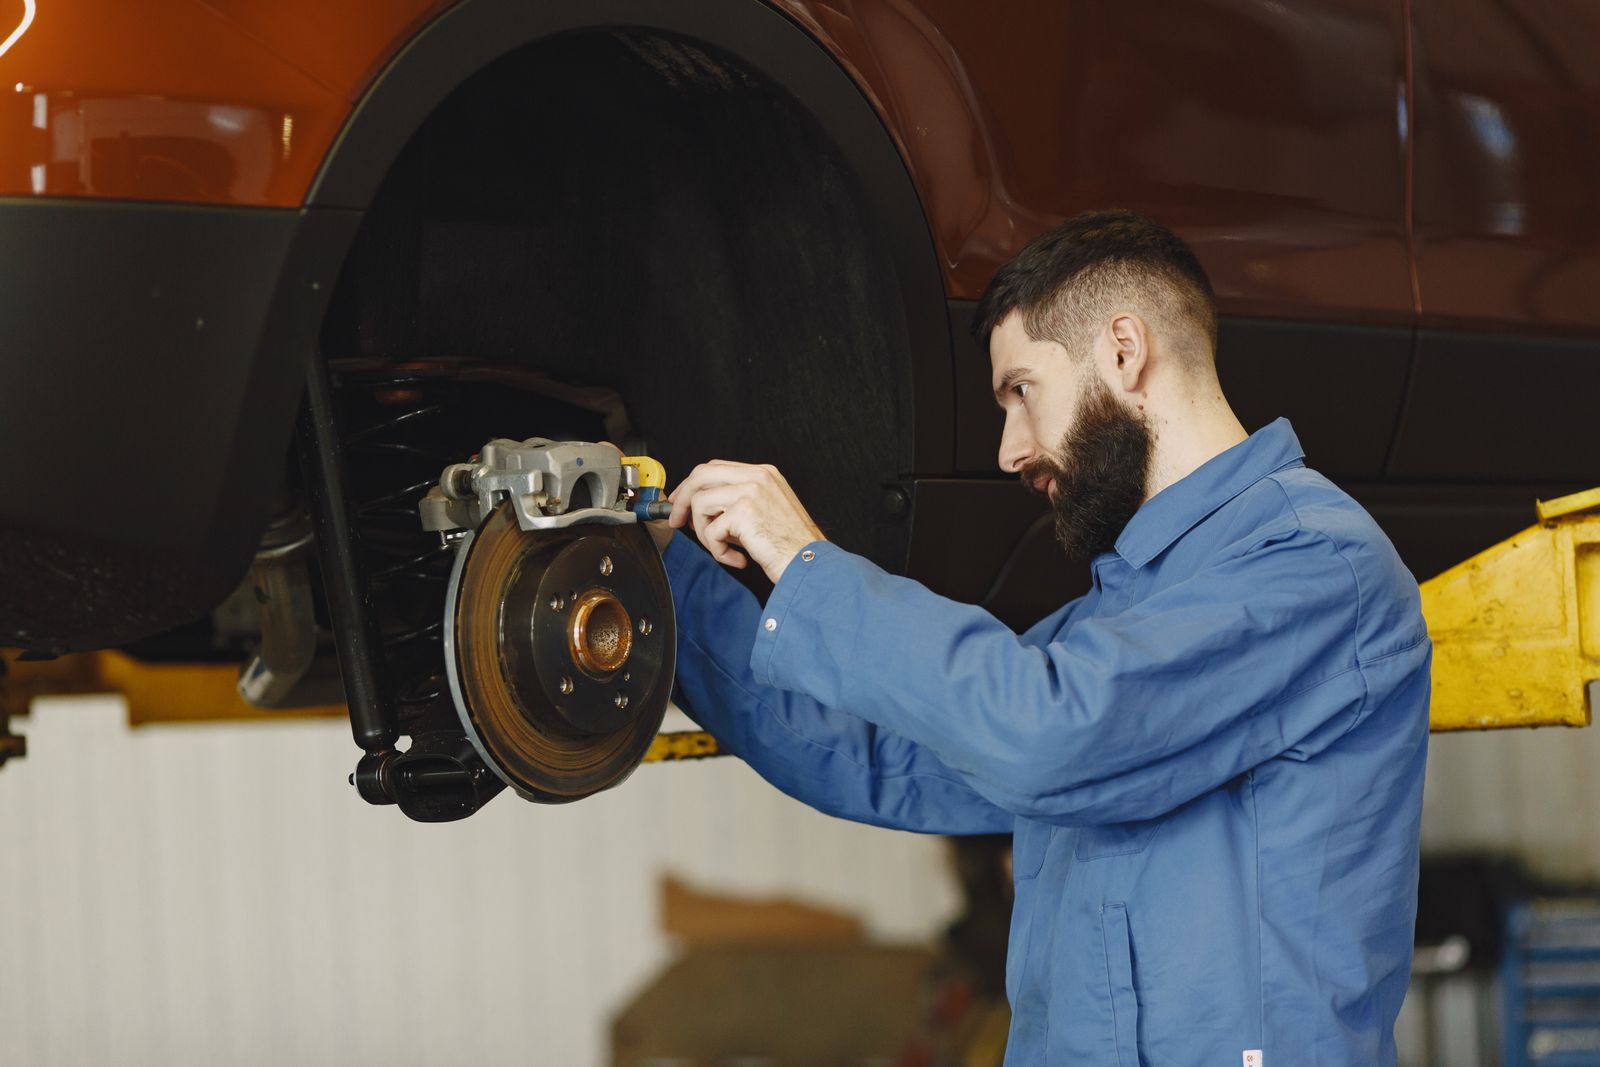
Why Brakes Need Bleeding: Air and the Spongy Pedal
A soft, spongy brake pedal is a warning sign that something is wrong with your brake system. The culprit is almost always air trapped in the hydraulic lines. When air enters the brake system—whether through a leak, during component replacement, or after opening a bleeder screw—it disrupts the fundamental physics of brake operation.
Brake fluid is incompressible; air is not. When you press the pedal, hydraulic pressure transmits instantly to the brake calipers. Air pockets compress instead, absorbing that pressure like a sponge. The result is a pedal that sinks toward the floor without firm resistance and a loss of stopping power that creates genuine danger. Per Wagner Brake's technical analysis, air in brake lines is the most common cause of a soft pedal, and addressing it promptly is essential for safe operation.
The solution is bleeding the brakes: forcing fresh fluid through the entire brake system to push out trapped air. If you experience a spongy pedal, your vehicle is not safe to drive. Identify and repair the issue before the next drive, whether by performing the procedure yourself or consulting a professional.
Air compresses; brake fluid does not. The spongy pedal you feel is air pockets absorbing pressure instead of transmitting it to the wheels.
Understanding Brake Fluid: DOT Types and Compatibility
Before you crack open a bleeder screw, understand what fluid goes in your brakes. The U.S. Department of Transportation (DOT) defines brake fluid standards under FMVSS Standard No. 116, and using the wrong type or mixing incompatible fluids can damage your brake system.
DOT 3 is a glycol-based fluid commonly found in older vehicles and lighter-duty applications. It has a dry boiling point of 401°F when new and a wet boiling point of 284°F after absorbing moisture. DOT 4, also glycol-based, is the standard in most modern cars, trucks, and SUVs, with a higher dry boiling point of 446°F and wet boiling point of 311°F. DOT 5 is silicone-based, non-hygroscopic (it resists moisture absorption), and has a stable viscosity over wide temperature ranges—but it is incompatible with glycol-based fluids and cannot be mixed with DOT 3, 4, or 5.1. Finally, DOT 5.1 is a high-performance glycol blend that shares more chemical similarity with DOT 4 than its name suggests; it can be mixed with DOT 3 and 4 fluids if absolutely necessary, though a complete fluid flush is always preferable.
The critical rule: never mix DOT 5 silicone fluid with any glycol-based fluid. Check your vehicle's owner manual or service manual to determine which type is correct for your vehicle. When bleeding, use only fresh fluid of the specified type. Old fluid degrades over time, absorbs moisture, and loses its boiling-point margin—a liability during hard braking or in warm climates. Most professionals recommend a complete brake fluid flush every 2-3 years, not just topping off the reservoir.
The Correct Bleeding Sequence: Start Farthest, Work Forward
Brake lines form a circuit: fluid leaves the master cylinder (mounted on the engine firewall), travels to each brake caliper or wheel cylinder, and returns to the reservoir. Air naturally rises in any hydraulic system, collecting at high points. To remove it systematically, you must bleed wheels in a specific order, starting at the caliper farthest from the master cylinder and working toward it.
The standard sequence for most vehicles is: right rear wheel, left rear wheel, right front wheel, left front wheel. This order ensures that pressure forces air progressively forward and out of the system. Some vehicles may differ—consult your vehicle's service manual or a Haynes manual for your specific make and model. Never deviate from the sequence; working in random order will trap air pockets and defeat the entire procedure.
Before starting, locate the bleeder screw on each brake caliper (disc brakes) or wheel cylinder (drum brakes). These are small brass screws with a nipple valve. If the screw is seized or corroded, apply penetrating oil and let it soak for 30 minutes before attempting to loosen it. A stuck bleeder can crack if forced, leaving you with a damaged caliper.
The Two-Person Method: Pump and Hold
The traditional brake-bleeding method requires two people: one to work the pedal, one to open and close the bleeder valves. This approach works reliably when both operators communicate clearly.
Have the second person sit in the driver's seat. Fill the master cylinder reservoir with fresh brake fluid—check your manual for the maximum fill line, as some systems have strict limits. Open the bleeder screw at the first wheel (right rear) by one-half to three-quarters turn using the correct wrench size (usually 8, 10, or 12 mm). Attach a clear vinyl hose (3/16-inch ID is standard) to the bleeder nipple and route it into a jar or clear container partially filled with brake fluid. This prevents air from being drawn back into the system and lets you see bubbles as they exit.
Have the driver pump the brake pedal three to five times with moderate, controlled pressure—not violent stomping. On the final pump, the driver holds the pedal down (maintaining pressure) while you open the bleeder screw. Fluid flows out, carrying air bubbles with it. Watch the hose: when fluid flows smoothly without bubbles, close the bleeder screw while the driver still holds pressure on the pedal. The driver then releases the pedal slowly. Repeat this cycle at each wheel until no more air bubbles appear in the fluid stream, typically 5–10 cycles per wheel. Top off the reservoir after each wheel and never let it drop below the minimum mark.
A critical detail: the driver must never release the pedal before you confirm the bleeder screw is closed. Releasing pressure while the screw is open draws air back into the system, undoing your work. Communicate clearly: 'Pedal down, holding... bleeder open... air gone... closing bleeder... pedal up.'
Never mix DOT 5 silicone fluid with glycol-based DOT 3, 4, or 5.1 fluids—incompatible blends damage seals and ruin your brake system.
Solo Bleeding Methods: Vacuum Pump and Check Valve
Not everyone has a helper available, and automotive supply stores recognize this. Several one-person methods exist, each with distinct advantages.
The vacuum pump method (also called pressure bleeding) is the fastest solo approach. A hand-operated vacuum pump creates suction at the bleeder screw, pulling old fluid and air from the system. This method eliminates the risk of air being drawn back in, requires no pedal communication, and is unaffected by the sequence—you can bleed wheels in any order. Most vacuum pumps cost $25–$50 and include various nipple adapters. Attach the pump to the bleeder screw, open it fully, and work the pump handle. Watch the clear tubing connected to the pump's fluid reservoir; bubbles disappear within a few cycles. Top the master cylinder reservoir regularly and you're done.
The bleed-bottle (or check-valve) method is nearly as simple and requires only a clean jar, a length of aquarium tubing, and a one-way check valve (available at most auto-parts stores for under $10). Connect the tubing to the bleeder screw with the check valve installed to prevent backflow. Open the bleeder and pump the brake pedal gently; fluid is pushed through the tube into the bottle, and the check valve stops it from being sucked back in. This method is slower than a vacuum pump but requires no special equipment beyond the tubing and valve.
The gravity method is the slowest: simply open the bleeder screw, top off the reservoir, and wait for fluid to drain naturally for at least an hour per wheel. This works but is impractical for most DIYers. A pressurized system (available from Snap-on, Lincoln, or similar tool manufacturers) is the most expensive option ($200–$500) but eliminates manual labor and removes stubborn air pockets that pedal-pumping sometimes misses. Professional shops often use pressurized systems to ensure complete air removal.
Step-by-Step Procedure and Safety Precautions
Set up your workspace with proper ventilation. Gather these tools: the correct wrench size for your bleeder screws, fresh brake fluid (1 pint minimum for top-offs; 2 quarts if flushing completely), clear vinyl hose (3/16-inch ID), a clear jar or container, brake cleaner, shop rags, nitrile gloves, and safety glasses. Brake fluid is corrosive and will strip paint; any spill should be cleaned immediately with brake cleaner and water.
Secure the vehicle on a level surface using jack stands (never rely on a jack alone). Remove all four wheels or at least access the bleeder screws. If using the two-person method, have your helper sit in the driver's seat with the engine off. Confirm the master cylinder is full. At the first wheel (right rear), position your drain container, attach the hose to the bleeder screw, and begin the pump-and-hold cycle. Continue until fluid flows clear and the hose shows no air bubbles for at least three consecutive cycles. Close the bleeder screw firmly but do not strip it—hand-tight plus a quarter turn is sufficient.
Move to the left rear wheel and repeat. Then progress to the right front and left front. This sequence works because the lines are under pressure only when you pump the pedal; letting gravity pull fluid through the lines without pressure movement can trap air. After finishing all four wheels, top the reservoir to the maximum mark. Install all wheels, lower the vehicle, and perform a crucial test: pump the brake pedal firmly at least 10 times with the engine off, then try the brakes at low speed in a safe, empty parking lot. The pedal should be firm and the brakes should feel normal. If sponginess remains, repeat the procedure, paying special attention to wheels you might have rushed. If the problem persists after a second full bleed, consult a professional—the issue may be a leaking caliper or a failed master cylinder.
Testing and When to Seek Professional Help
After bleeding all four wheels, recheck the master cylinder level and install the brake fluid reservoir cap. Reinstall all four wheels if removed and lower the vehicle. Do not drive on public roads until you confirm the brakes are working correctly.
Test the pedal in a safe, empty location (an empty parking lot or private drive). With the engine off, pump the pedal 10 times firmly. The pedal should become progressively firmer with each pump. If it remains spongy after 10 pumps, air is still trapped in the system; repeat the bleeding procedure. Once the pedal is firm with the engine off, start the engine and apply moderate brake pressure several times. Power-assisted brakes should provide a firmer, more responsive feel than vacuum-assisted brakes without the engine running. Perform a low-speed stop to ensure stopping power is consistent and predictable.
If the pedal remains spongy or sinks to the floor after a complete second bleeding, or if the pedal feels firm but brakes fail to stop the vehicle as expected, stop driving immediately. Have a professional inspect the system; the issue may be a leaking caliper, a failed master cylinder, or compromised brake lines—conditions that DIY bleeding cannot fix and that pose serious safety risks.