Tools and Materials: Start with the Right Setup
Drywall repair requires a modest toolkit, purchased at any hardware store or home center. For small repairs, spackling compound (also called spackle) is essential—a lightweight putty less prone to shrinkage than joint compound. For larger jobs, stock all-purpose joint compound, fiberglass mesh tape, drywall screws, and backing strips.
Putty knives come in widths from 2 to 12 inches; begin with a 4-inch and a 6-inch blade for versatility. A drywall saw handles larger cuts with precision. Sandpaper in 120, 150, and 220-grit stages smooth successive coats. Primer seals the final patch before painting, blocking stains and creating uniform paint adhesion.
For holes over 4 inches, scrap drywall and 1×2 backing strips provide structural support. Keep these materials on hand before damage occurs—emergency runs waste time.
Spackling compound doesn't shrink quite as much as joint compound, making it the choice for small repairs where a single coat must succeed.
Nail Holes and Pinhole Damage: Spackle in a Single Coat
Holes smaller than ½ inch—standard nail holes, picture anchor damage, screw pops—require only spackling compound. This method achieves results in 30 to 60 minutes. Apply a small mound of spackle directly into the hole using a 2-inch putty knife, pressing firmly so compound fills the entire cavity. Slightly overfill, because spackle shrinks as it cures.
Draw the knife edge across the repair in a single smooth stroke, leveling the compound flush with the wall surface. Allow complete drying per the container's instructions (typically 30 minutes to 1 hour). Sand lightly with 120-grit paper to remove any residual mound, then prime and paint. No second coat is necessary for repairs this small—the spackle shrinks predictably and requires minimal finishing.
Small Holes (½ to 2 Inches): Self-Adhesive Mesh and Compound
Holes from ½ to 2 inches—accidental dents, small punctures, drywall anchor damage—call for a self-adhesive fiberglass mesh patch. These patches come pre-cut in 4×4, 6×6, and 8×8-inch sizes at hardware stores and cost under $2 per unit. The mesh provides a physical substrate for joint compound, preventing the depression that occurs with compound alone.
Cut or select a patch that overlaps the hole by at least 1 inch on all sides. Peel the backing and press the mesh firmly onto the wall, smoothing out air bubbles. Using a 6-inch putty knife, apply a thin (⅛-inch) layer of all-purpose joint compound over the entire patch, extending 2 to 3 inches beyond the mesh edges. Allow 8 hours drying.
Sand lightly with 150-grit paper and apply a second thin coat, feathering the edges another 2 inches outward. Sand again and apply a final third coat if the edges remain visible. The goal is a gradual blend so the eye detects no hard edge. Prime and paint once fully dry. Multiple thin coats prevent the shrinkage and cracking that result from a single heavy application.
Multiple thin coats prevent the shrinkage and cracking that result from a single heavy application of compound.
Medium Holes (2 to 6 Inches): The California Patch
Holes from 2 to 6 inches—doorknob impacts, kicked-in sections—benefit from the California patch method, a seamless technique requiring only a scrap of drywall and joint compound. This approach yields professional results without extensive backing support. Begin by cutting the damaged area into a clean rectangle or square using a drywall saw, removing loose drywall and cleaning the cavity completely.
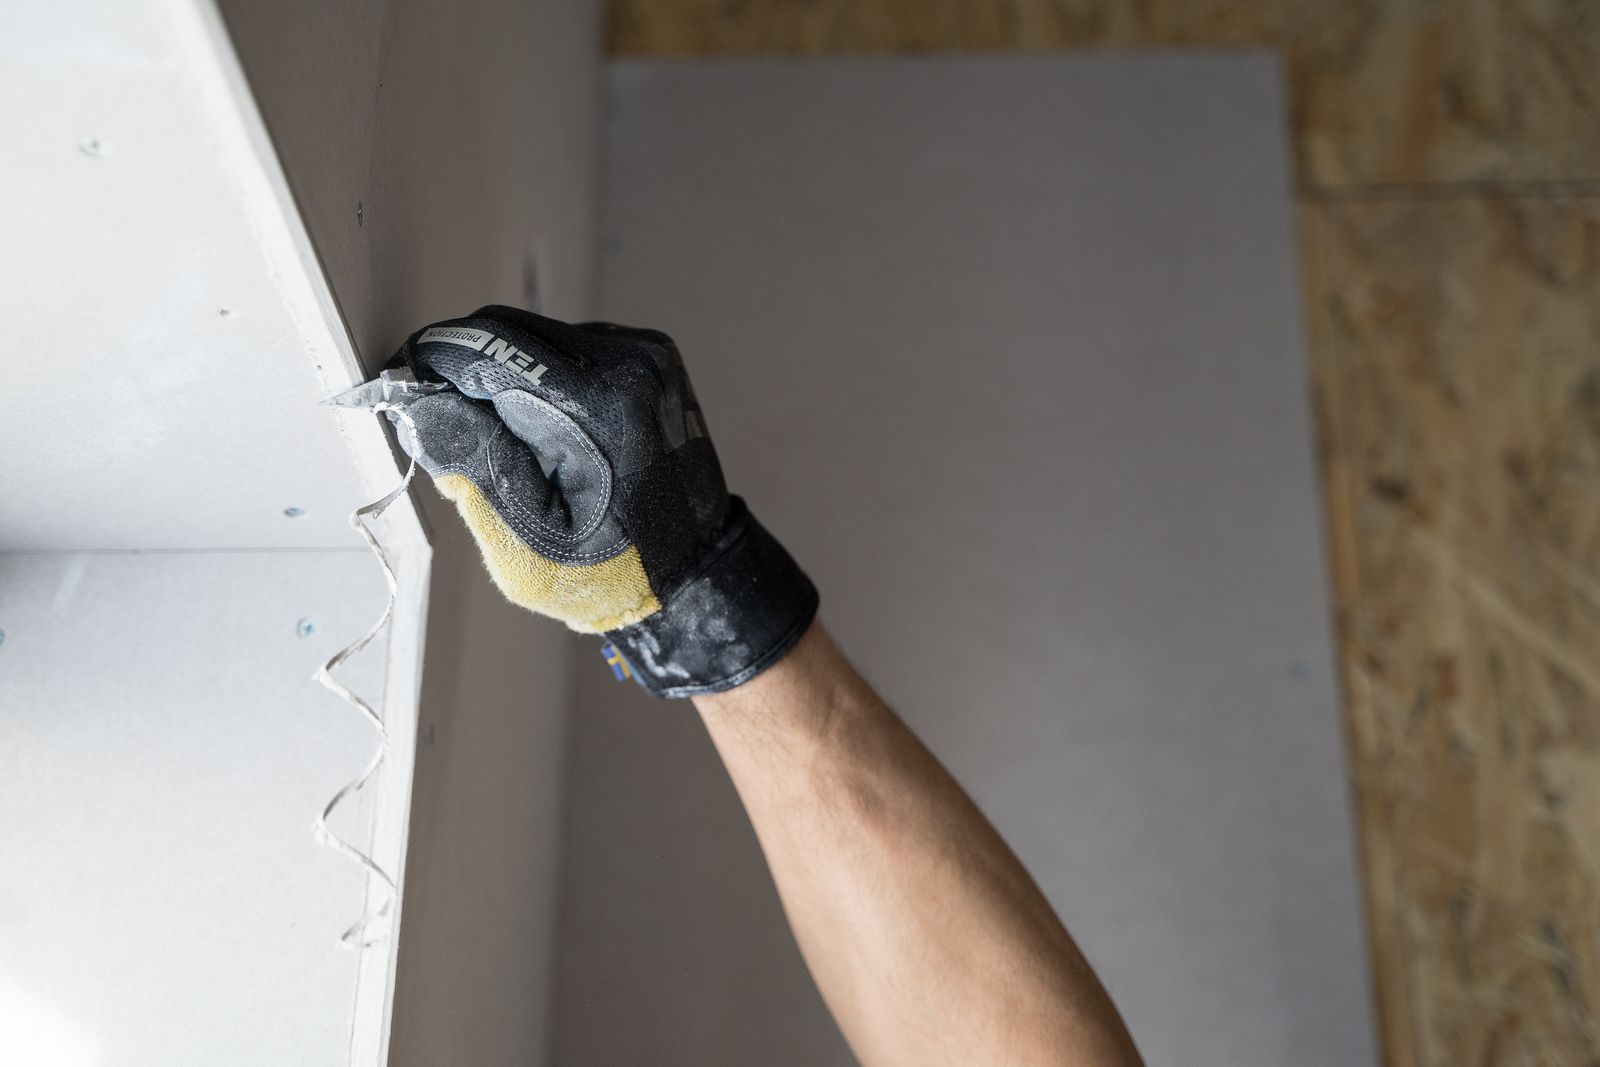
Cut a patch from scrap drywall roughly 2 inches larger on all sides than the hole. Score the back (brown paper side) of the patch along the perimeter of the actual hole size, creating a brown-paper border around the drywall core. Use a utility knife to cut along these score marks, separating the drywall core from the scored border. The result: a drywall plug surrounded by a 1-inch flange of brown paper.
Apply a thin bead of joint compound around the edges of the cutout and press the patch into place so the paper flange overlaps the hole's edge by 1 inch all around. The paper adheres directly to the existing wall. Cover the entire patch and paper flange with a ¼-inch layer of joint compound using a 6-inch knife, feathering outward 3 to 4 inches. Allow 8 hours drying, then sand smooth, apply a second coat extending 6 inches outward, dry, sand, and apply a final coat 9 to 12 inches outward. This progressive feathering disguises the repair completely.
Large Holes (Over 6 Inches): Full Drywall Patch with Backing
Holes larger than 6 inches—major impact damage, large cuts—require a full structural repair using drywall scraps and wooden backing strips. Cut a neat rectangular outline around the damage, exposing studs if possible. If studs are exposed within the cutout, use them as backing; otherwise, install 1×2 wood strips horizontally on each side of the hole, fastened to studs with drywall screws.
Cut a drywall patch to fit the hole precisely. Secure the patch to the backing strips with drywall screws spaced every 12 inches, countersunk slightly below the surface. Cover all seams with fiberglass mesh tape, pressing it firmly into place. Apply the first coat of joint compound over the screw heads and seams using a 10 to 12-inch knife, feathering 6 inches outward. Dry 8 hours.
Apply a second coat extending 12 inches beyond the first, then a third extending 18 inches, drying between coats and sanding lightly with 150-grit paper. The wider each successive coat, the more seamless the blend with surrounding wall surface. Sand the final coat smooth with 220-grit paper, prime thoroughly, and paint.
Finishing: Sanding, Priming, and Paint
Between each coat of compound, light sanding removes high spots and ensures the next layer adheres properly. Use 150-grit paper for intermediate sanding and 220-grit for the final pass. Wipe dust away with a damp cloth before the next coat to prevent grit from embedding in fresh compound.
Once all compound is dry and final sanding is complete, prime the entire patched area with drywall primer, extending coverage 4 to 6 inches beyond the repair to seal any dust and stains. Primer creates uniform adhesion for the topcoat paint. Match the wall's paint type (flat, eggshell, satin) and color by sampling a test patch or consulting the original paint can if available. Apply topcoat paint, feathering slightly outward so the repair blends invisibly with the surrounding wall.