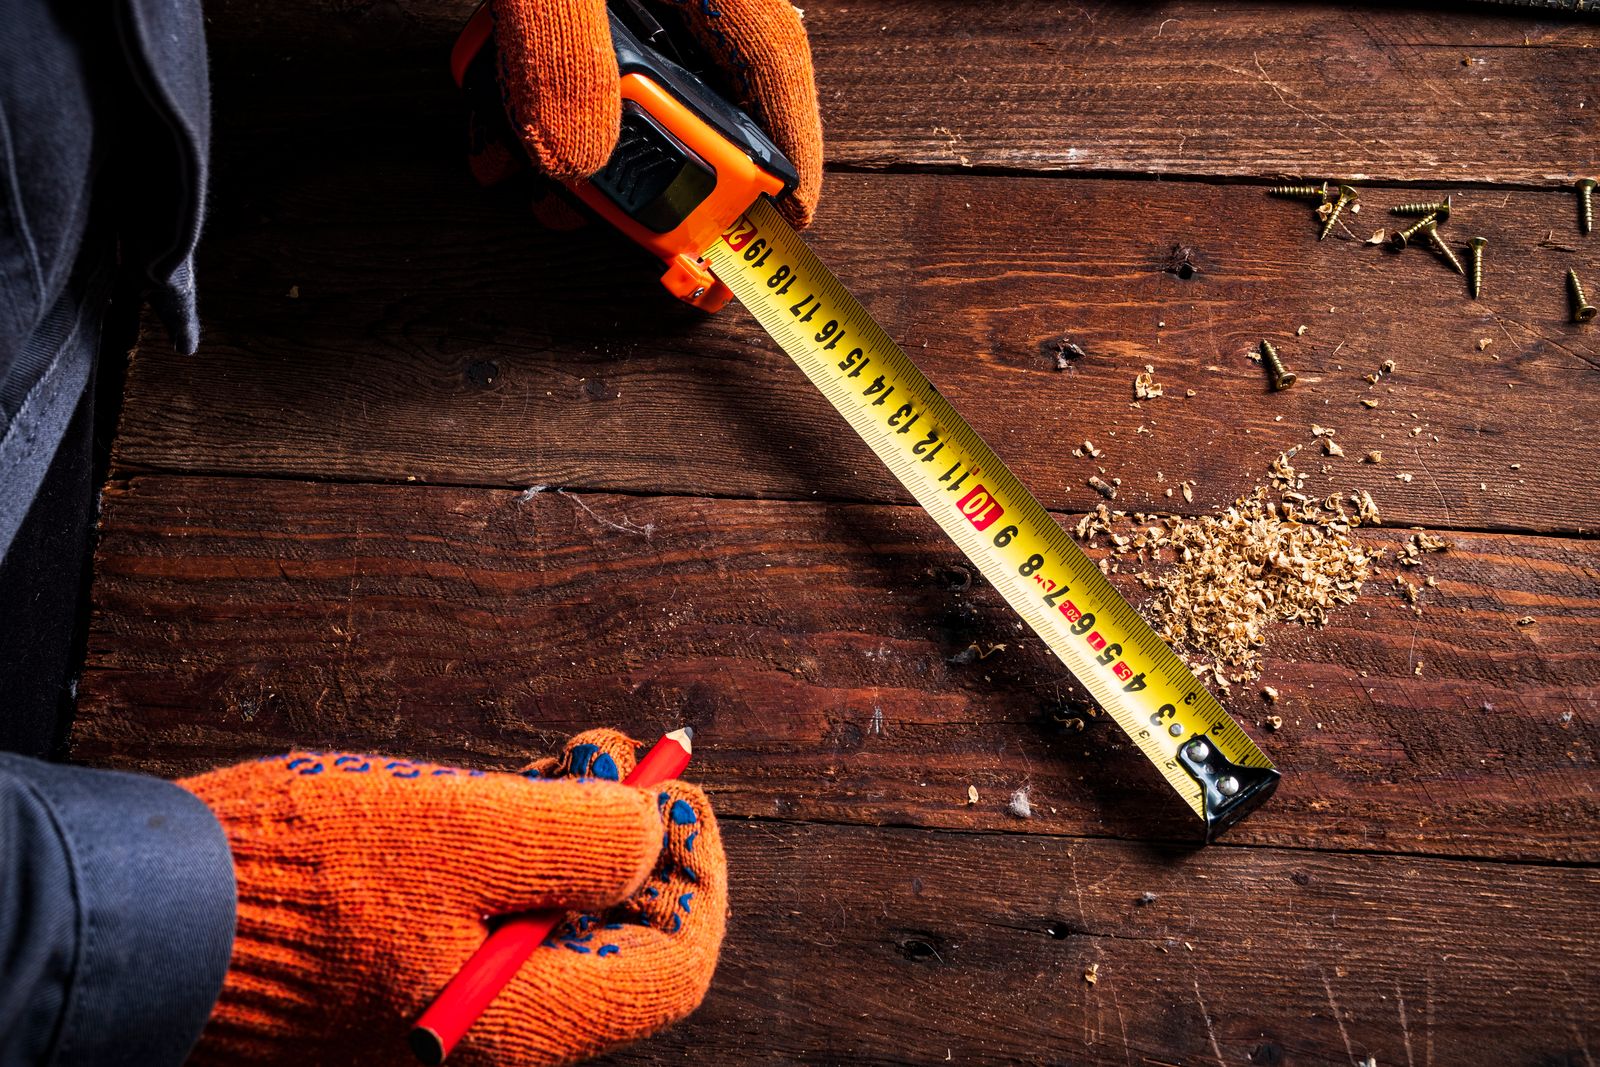
The inch and the half-inch: anchoring the read
A tape measure reads from left to right, with the largest markings denoting whole inches, numbered at regular intervals. The second-largest line falls at the 1/2-inch mark, creating two equal sections within each inch. These two reference points—the inch and the half—are the foundation. From there, smaller subdivisions descend in a hierarchy: 1/4-inch, 1/8-inch, and finally 1/16-inch, the smallest. This fractional breakdown isn't arbitrary. According to NIST Handbook 44, the standard for commercial tape measures specifies accuracy within 1/32 of an inch across a 6-foot length, a tolerance that demands precise fractional resolution.
The hook slides by design, not by wear—it accounts for its own thickness so inside and outside measurements read true.
Reading fractions: the 1/16th system
Each inch contains sixteen discrete 1/16-inch divisions. Think of the inch as divided into 16 equal slices: the first is 1/16, the second is 2/16 (which simplifies to 1/8), the third is 3/16, and the fourth is 4/16 (or 1/4). This continues through the inch. The key insight is recognizing which line you're looking at. The shortest lines represent 1/16 increments; the next tier up marks 1/8 (every other 1/16 line); then 1/4 (every fourth line); then 1/2 (every eighth line). To read a measurement, locate the nearest whole inch, then count the tick marks past it. If the object's edge aligns with the fifth tick past the 4-inch mark, the measurement is 4 5/16 inches. Practicing this counting method—thinking in sixteenths rather than guessing—builds speed. Some tape measures print the fractions directly on the blade, a convenience that eliminates the need to calculate simplifications in the field.
The hook: loose by design
The metal hook riveted to the tape's end serves two distinct measurement types. When measuring outside dimensions—the width of a board or the distance between two fixed points—the hook butts against one surface. The rivets are deliberate: they allow the hook to slide slightly (about 1/16 inch) on the rivets, accounting for the hook's own thickness. This movement is calibrated so that whether you measure from inside the hook's edge (outside measurement) or inside the hook's curve (inside measurement), the blade reads true. When measuring inside a cavity—the interior width of a doorway or a cabinet—you press the hook's front edge against one side and read where the blade meets the opposite side, then add the width of the hook itself (usually printed on the case—check the label). Some hooks are magnetic, clamping to steel, which is useful when working at height or solo. The nail notch—a small rectangular hole in the front of the hook—serves a distinct purpose: hook it over a nail or screw and pull the tape taut to establish a fixed measuring point when you're working without a second person.
Diamond marks appear every 19.2 inches because five spans fit exactly within an 8-foot panel. This spacing predates engineered lumber by over a century.
The construction notations: 16-inch and 19.2-inch marks
Beyond fractions, a tape measure for construction work carries two critical markings that beginners often ignore. Red numerals or thick triangles appear every 16 inches. This is the standard on-center spacing for wall studs and traditional floor joists in North American framing. The 16-inch interval reflects a century of convention: it provides frequent anchor points for sheathing and drywall while remaining economical. Black diamonds—less common on residential tapes, but essential for engineered work—mark 19.2-inch intervals. This spacing is mathematical: five 19.2-inch spans fit exactly within 96 inches (8 feet), a constraint set by standard sheathing and panel sizes. Engineered floor trusses are designed to span 19.2 inches on center, lighter and stiffer than solid joists at that spacing. When a carpenter is laying out joist locations, the diamond marks align perfectly at the 8-foot marks, speeding the layout. Most tape measures under 25 feet carry both markings. Recognizing which mark you're looking at prevents expensive mistakes: a truss spaced at 16 inches may be undersized, while a conventional joist spaced at 19.2 inches performs worse than expected.
Reading efficiently: three practical methods
In the field, precise tape reading happens three ways. The first is direct: measure from the hook and read the blade where it meets the edge. The second, called 'burning an inch,' is an old framer's move: align the 1-inch mark (rather than the hook) with one end, then subtract 1 from the final reading. This bypasses reliance on the hook's calibration—useful if you distrust its condition. The third is the inside-outside pair: measure the dimension with the hook against the first surface, record the reading, then measure the same distance without the hook (pressing the blade's end itself against the surface) and compare. The difference reveals whether your hook is accurate. All three methods bypass common errors: not holding the tape taut (it sags and lengthens), misaligning your eye with the mark (read perpendicular, not at an angle), and confusing the 1/8 mark with the 1/4 mark in dim light.
Specs and standards
Tape measure accuracy falls under NIST Handbook 44, the governing standard for all measuring devices sold in commerce. A standard 6-foot tape must be accurate to ±0.79 millimeters (±1/32 inch). Longer tapes—25 feet, 50 feet, 100 feet—have larger tolerance bands due to the physics of tape extension and support. The chart below shows the relationship between tape length, material tolerance, and typical real-world accuracy: