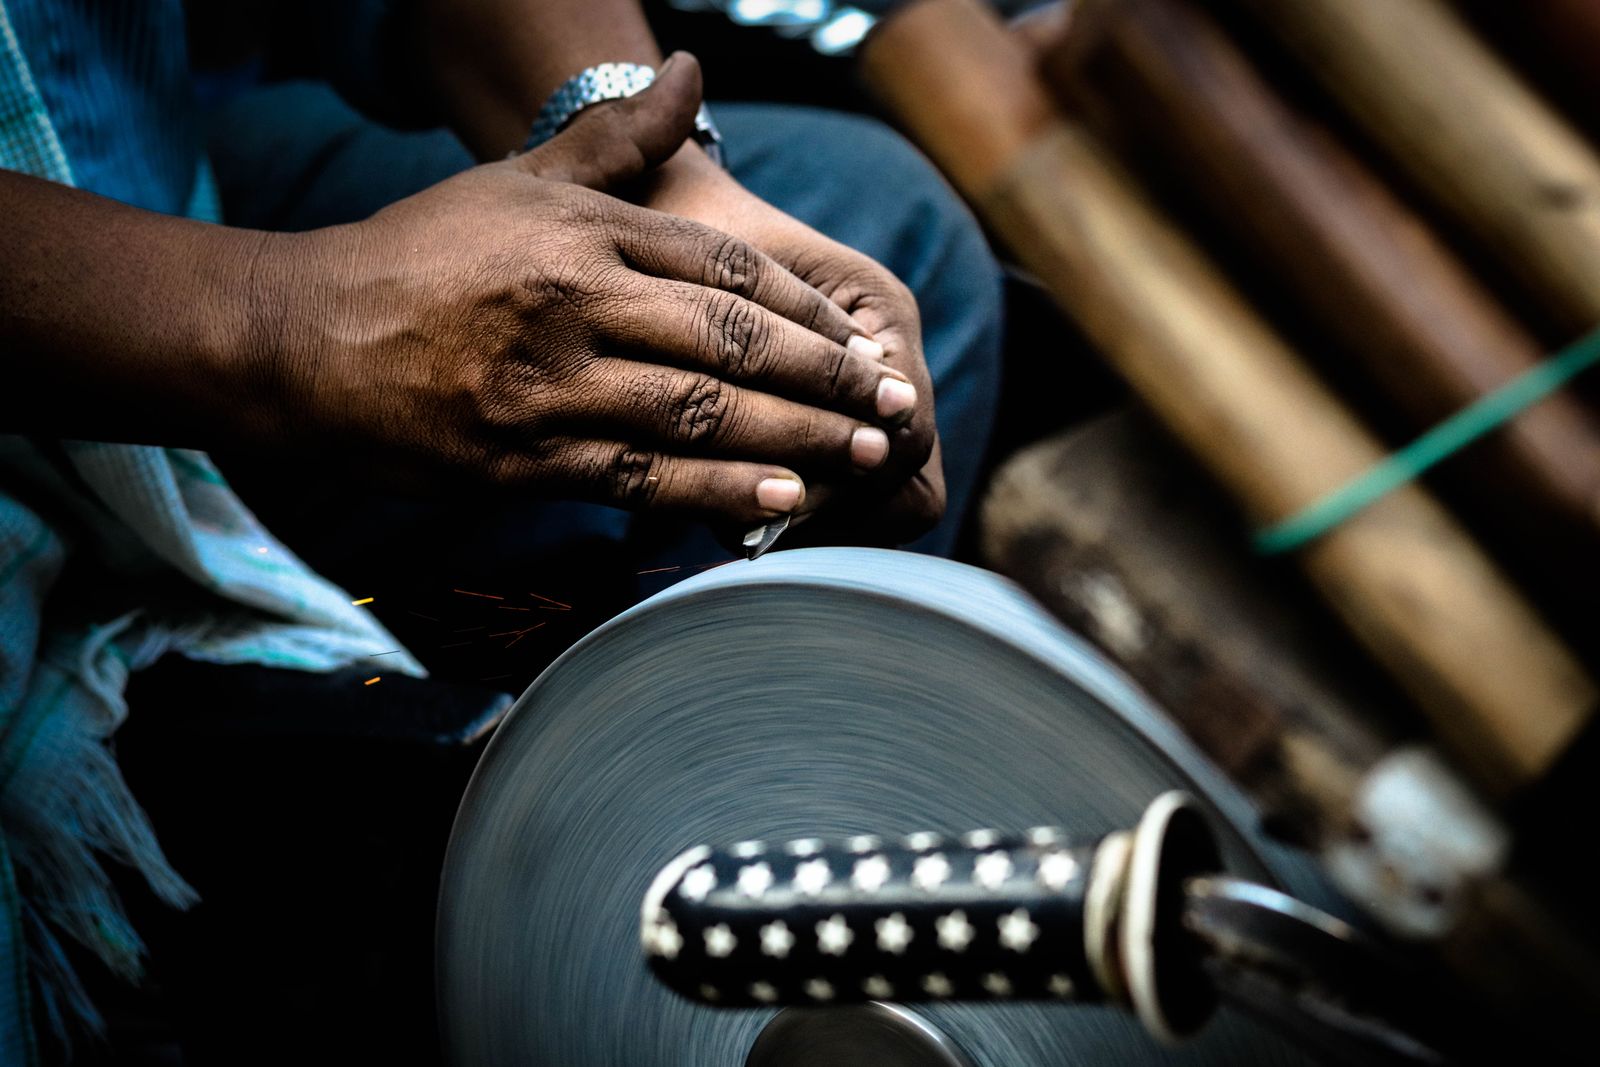
The Case for a Sharp Knife
A dull knife is dangerous. It requires excessive pressure to cut, which means it's more likely to slip and cause injury. A sharp knife glides through food with minimal force, making your cuts cleaner, safer, and faster. The difference between a $300 kitchen knife and a $30 one often comes down to maintenance: a properly sharpened modest blade will outperform a neglected expensive one.
Most men relegate knife sharpening to a professional or toss the blade when it dulls. Neither is necessary. A whetstone—a flat stone with abrasive grit—is the gold standard for blade maintenance. Unlike pull-through sharpeners or electric devices, a whetstone gives you complete control over the angle, pressure, and edge geometry. It requires patience and practice, but the skill is worth the investment.
A sharp knife glides through food with minimal force, making your cuts cleaner, safer, and faster. A dull knife is dangerous.
Understanding Grit and What It Does
Whetstone grit is measured in numbers: coarse, medium, and fine. The lower the number, the more aggressive the abrasive, and the more metal it removes. A 400-grit stone is coarse and fast; a 6000-grit stone is fine and subtle. Most home sharpeners never need to go below 1000 grit.
The grit you choose depends on your blade's condition. Per the Montana Knife Company's guidance from a master bladesmith, coarse stones (120–400 grit) are for damaged blades or those neglected for years. Medium-grit stones (600–1000) handle routine maintenance—the sharpening most people do every few months. Fine-grit stones (3000–6000) refine the edge after medium-grit work, leaving a polished, razor-like finish.
For a first whetstone, buy a 1000-grit stone. It handles 90% of sharpening tasks. As your practice improves, add a 6000-grit stone for finishing work. Skip the coarse stones until you encounter a truly damaged blade.
The Setup: Securing Your Stone and Understanding Angle
Place your whetstone on a flat surface—a kitchen counter or table—and secure it with rubberized shelf liner or damp paper towels underneath. This prevents the stone from sliding during use. Do not soak the stone in water beforehand; modern whetstones require no soaking.
Angle is the critical variable. The angle between the blade's edge and the stone determines how aggressively the stone bites into the metal. According to America's Test Kitchen, Western-style kitchen knives are typically sharpened at 20 degrees, while Japanese-style knives work best at 15 degrees. A master bladesmith recommends 17 degrees as an effective middle ground for most blades—it offers a sharper edge than 20 degrees but more durability than 15.
Finding the correct angle by eye takes practice. A useful reference: place your knife flat on the stone, then lift the spine slightly until the edge makes contact. That position—roughly the thickness of a credit card between spine and stone—is approximately 15–20 degrees. Use your non-knife hand as a guide: place two fingers flat on the blade's flat side to help lock the angle steady.
The Stroke: Creating and Checking the Burr
Begin with the coarse or medium side of your whetstone. Position the knife's handle at your target angle and place your guide hand (the non-knife hand) flat on the blade's side, near the center. Draw the blade across the stone in a single motion, moving from the handle (heel) toward the tip, as if slicing the stone. Keep your wrist locked and move from the shoulders—this ensures a consistent angle.
Make 10–15 passes on the first side, then flip the knife and repeat on the other side. As you work, the stone creates a microscopic sliver of metal on the blade's edge called a burr or wire edge. This burr is the goal: it signals that you've created a new, sharp apex. After a few passes on each side, run your thumb perpendicular (not along) the edge to feel for the burr. When you feel a raised lip of metal along the entire length from heel to tip, move to the next step.
Raising the burr consistently along the entire blade is the single most important sign of successful sharpening. If you feel a burr on one half but not the other, return to that side and make a few more passes, pressing slightly harder.
Raising the burr consistently along the entire blade is the single most important sign of successful sharpening.
Refining the Edge and Removing the Burr
Once the burr is consistent, flip the whetstone to its fine-grit side (1000–6000 grit). Make 5–10 passes on each side of the blade, using the same angle and stroking motion. The fine stone polishes the edge, removing the rough texture left by the medium grit and smoothing the burr.
After fine-stone work, the burr may still be present. To remove it, lay the blade flat on the stone (spine and edge both in contact) and drag it toward you once or twice per side, using very light pressure. This final step is sometimes called stropping on the stone. Alternatively, use a leather strop charged with stropping compound—a light, buffing motion against the blade's spine (never leading with the edge) removes any remaining burr and polishes the edge to mirror sharpness.
A stropping compound works by realigning and polishing the microscopic edge left by the whetstone. The finest stropping compounds—around 1.5 microns—create an exceptionally sharp, burr-free edge suitable for precision tasks like slicing a properly smoked brisket.
Testing Sharpness Safely
A sharp knife cuts paper effortlessly. The paper test is the safest and most reliable: hold a piece of standard printer paper between two fingers and draw the blade downward in one smooth motion. A truly sharp blade will slice cleanly without requiring downward pressure. A dull blade will crumple or tear the paper.
The fingernail test is also reliable but requires care. Gently rest the knife's edge perpendicular to your thumbnail (90-degree angle) and apply no pressure. A sharp blade will bite into the nail without being pushed; a dull blade will slide. Never press hard or slide your finger along the edge.
Avoid cutting your arm hair or other body-based tests. The risks outweigh the benefit. Always assume the knife is sharp, even when testing. Use slow, deliberate motions and treat every blade as dangerous until proven dull.
Honing vs. Sharpening: Keep the Language Straight
Sharpening and honing are different processes, and the distinction matters. Sharpening removes metal to create a new edge; it's what a whetstone does. Honing realigns the edge without removing significant metal; it's what a honing steel (or ceramic rod) does.
Between sharpening sessions, use a honing steel once or twice weekly. The steel doesn't sharpen the blade; instead, it straightens the microscopic folds and burrs that form during normal use. This maintains sharpness between deeper whetstone sessions. For most home cooks, sharpening on a whetstone every 6–12 months is sufficient if honing is kept up in between.