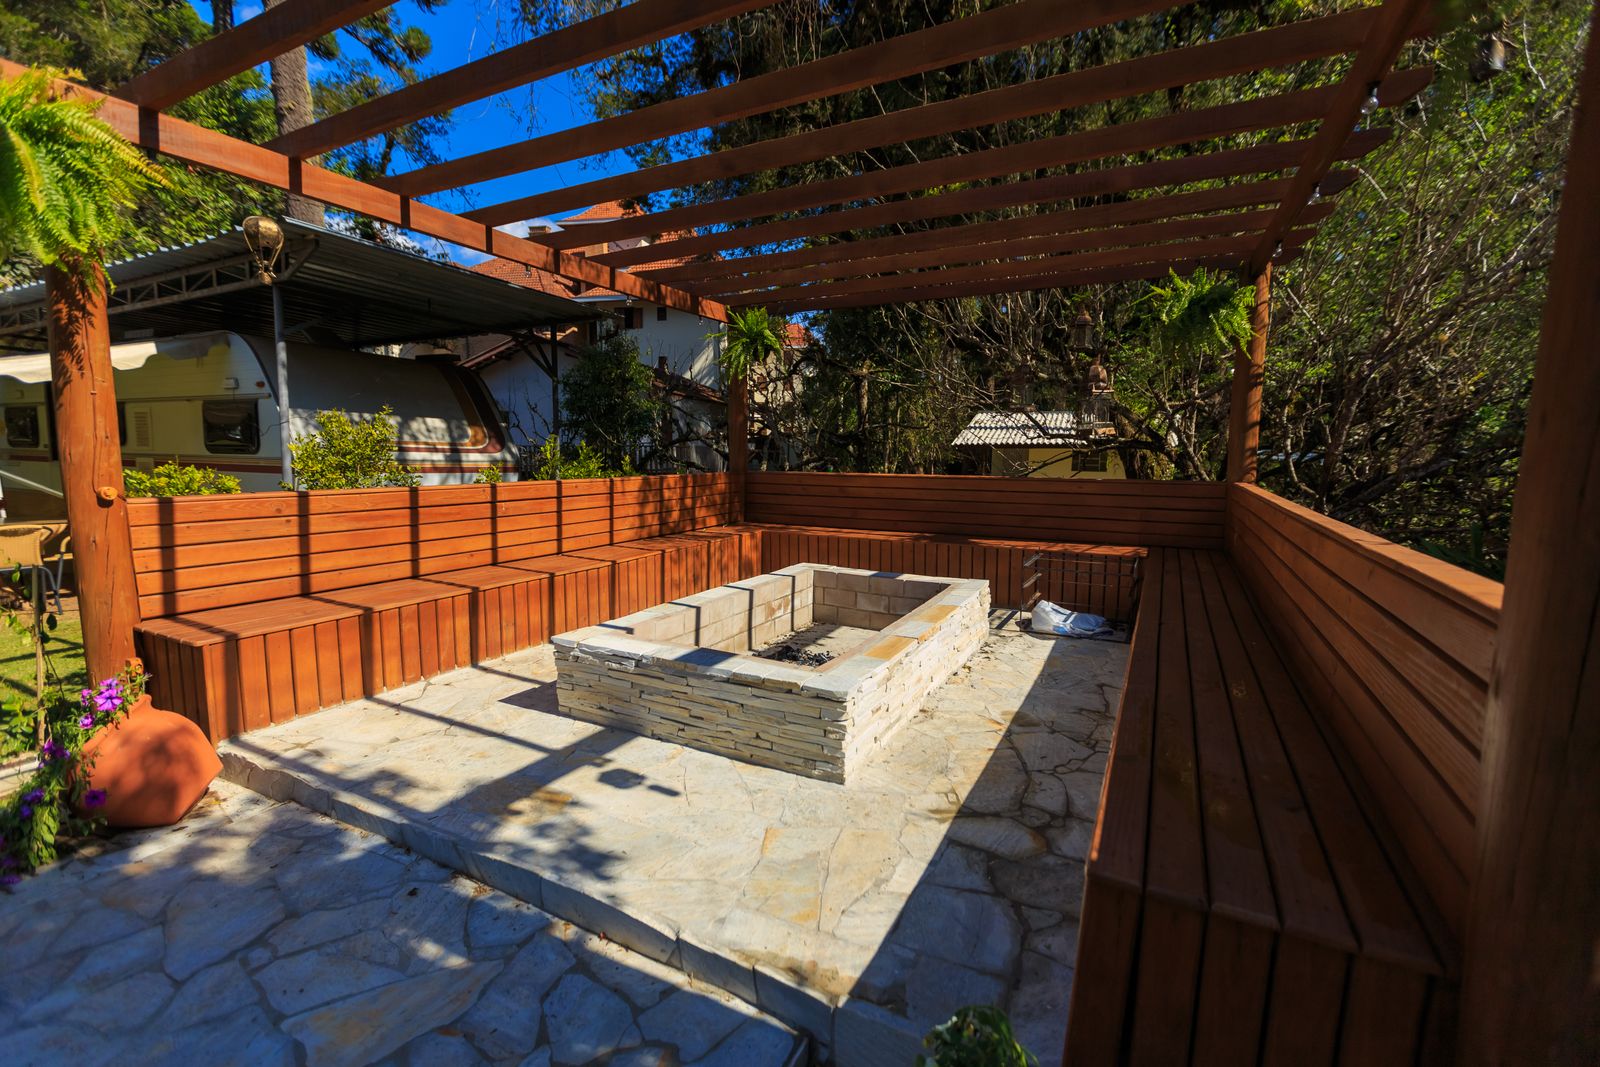
Check the law first—before the shovel
A backyard fire pit is illegal to build without confirming local regulations. Most jurisdictions allow a residential fire pit if it meets NFPA 1 Fire Code standards—a structure no wider than 3 feet and no taller than 2 feet, built for "recreational fire." But a town might ban them outright, require a permit, or impose stricter setbacks than the national standard. Before digging, contact the local fire department or check the building codes website for the jurisdiction. Regulations vary sharply: some areas prohibit open burning during certain seasons, while others require setbacks of 25 or even 50 feet from structures in fire-hazard zones.
Wood-burning pits require more clearance than gas models because wood produces flying embers—the spark risk. Gas fire pits, using propane or natural gas, skip the ember issue and are often exempt from burn bans. The decision to build wood-burning or gas changes the site selection and the code approval needed.
A fire pit that sits on proper paver base and is leveled as it is built will not settle or shift; one that is rushed will lean for years.
Choosing a safe location
A fire pit sits permanently in the yard, so location is not reversible. The pit must be at least 10 to 20 feet from the house and any other structure—decks, sheds, fences, pergolas—and local code often requires 25 feet or more. The pit needs 10 feet of clear space from trees, shrubs, low-hanging branches, and stored firewood. It should sit on non-combustible ground: stone, paved concrete, gravel, or bare dirt—never on a wood deck or dry grass. A ring of at least 10 feet of bare soil or stone around the pit prevents grass creep.
Wind matters. Prevailing winds should carry smoke and embers away from the house and seating areas, so think about the typical wind direction before fixing the spot. Mark out the area where the pit will sit, measure the clearances on a tape, and walk the line to make sure the spot stays 10 feet from overhanging eaves and any covered structures. The pit is hardest to move once it is built, so the staking-out phase is worth doing twice.
Materials and sizing
A standard backyard fire pit is 36 to 44 inches in diameter—large enough to hold a real fire but small enough to fit a patio. A 38-inch pit uses about 36 to 38 retaining wall blocks (tumbled blocks, which fit tighter with fewer gaps, run about $2.50 per block). The pit also needs a metal fire ring that sits inside the stone shell; a 30-inch steel ring is the most common size and costs $40 to $150 depending on thickness and depth.
The base layer under the stones is critical. Gather 2 to 3 inches of paver base—crushed stone, not soil—which compacts to lock the foundation level and prevent settling. A stepping stone for the pit floor, roughly 12 inches across and set in gravel, makes ash cleanup easy and provides drainage. Use high-heat construction adhesive (sold as masonry adhesive for fire pits and chimneys) to bond the blocks; this adhesive cures in 48 to 72 hours, so plan not to light a fire until the adhesive is fully set.
Avoid lava rock inside the pit. Lava rock absorbs water and ash, mixing into a stubborn paste that turns cleanup into a chore. Gravel or bare ground inside the ring works fine.
A fire is not out because it has stopped flaming. It is out when it is cold all the way through, every time, without exception.
The build: foundation through ring
Start by marking out the 38-inch circle with chalk or a rope. Use a shovel to remove the grass and the top 2 inches of soil inside the circle. Spread the paver base evenly—2 to 3 inches deep—then tamp it down with an 8-inch hand tamper or a compactor until it is firm and level. Check level with a 4-foot level; a sloped base will settle unevenly once the fire ring is in place.
Lay the first ring of blocks in a circle, checking that they sit level as you go. A dead-blow hammer lets you tap stones into place without cracking them. Once the first ring is set, lay the second ring above it, staggering the blocks like brick so the weight distributes evenly. Continue adding rings until the pit is roughly 12 to 14 inches tall—typically three to four rings—and the top sits level all the way around. Use the 4-foot level often; a lopsided pit is harder to maintain and looks unfinished.
After the stone shell is set, install the metal fire ring by setting it inside the top edge. Some rings sit on the blocks; others need small adjustments to the top stones to fit flush. Line the bottom of the pit with a stepping stone surrounded by gravel, which allows ash to fall through and drains water away from the blocks during rain. Leave the adhesive to cure for 48 to 72 hours before lighting the first fire. The blocks will shift slightly as the adhesive sets, so the first fire should be small and for testing—not a full night of burning.
Safe use and extinguishing
A fire pit that is built to code is not safe to use carelessly. Never leave a burning fire unattended, not even for five minutes. Keep a garden hose within arm's reach, and never leave children or pets unattended near an active pit. Do not attempt to add accelerants like gasoline or volatile liquids—the risk of a sudden flare is not worth it.
When the fire is done, extinguish it completely and cold. The USDA Forest Service and Smokey Bear method is exact: pour lots of water on the fire until the hissing stops, stir the water and ash and embers together with a shovel, keep adding water until the mixture is cool to the touch, and confirm with the back of a hand that no heat remains. Whitish-gray coals hold heat for hours, so douse thoroughly. A fire is not safe just because it has stopped flaming—it is out only when it is cold all the way through.
Materials and specifications
Build a fire pit once, and then the work is done. Here are the materials and dimensions that matter for a durable weekend build: