Choose the Right Cut
Steak quality begins with the cut. The three premium options each deliver distinct characteristics. The ribeye features generous marbling—intramuscular fat running through the meat—delivering rich, buttery flavor and forgiving results even for beginners. The New York strip, leaner than ribeye but more flavorful than filet, offers the middle ground: bold, beefy character with pleasing texture. The filet mignon stands alone for tenderness, cut from the non-weight-bearing tenderloin, though its mild flavor and premium price make it less practical for learning proper technique.
For pan-searing, choose cuts 1 to 1.5 inches thick. The reverse-sear method, described below, works best on steaks 1.5 inches or thicker, where controlled oven heat prevents a gray band of overcooked meat just beneath the crust. Thickness matters because thinner steaks cook too quickly during oven time; thicker cuts benefit from the slow, even heating that prevents the exterior from burning before the interior reaches temperature.
Frequent flipping prevents the gray band of overcooked meat that forms when heat concentrates on one side too long, and it actually shortens total cooking time.
Prep: Salt and Dry
The foundation of a good crust is a dry surface, and salting accelerates this. Unlike quick salting 10 minutes before cooking—which draws moisture to the surface without enough time to reabsorb—an overnight dry brine improves both surface and interior. Season the steak generously with salt on all sides and place it uncovered on a wire rack set in a rimmed baking sheet, then refrigerate overnight. The salt dissolves into a brine, which diffuses back into the meat, seasoning it thoroughly and breaking down muscle proteins (particularly myosin) for better texture and moisture retention. By morning, the surface will have dried completely, ready to sear.
This technique works for both methods. Remove the steak from the refrigerator 30 minutes before cooking to let it approach room temperature, ensuring even cooking from edge to center. Pat it dry again with paper towels—any residual surface moisture impedes browning.
The Pan-Sear Method
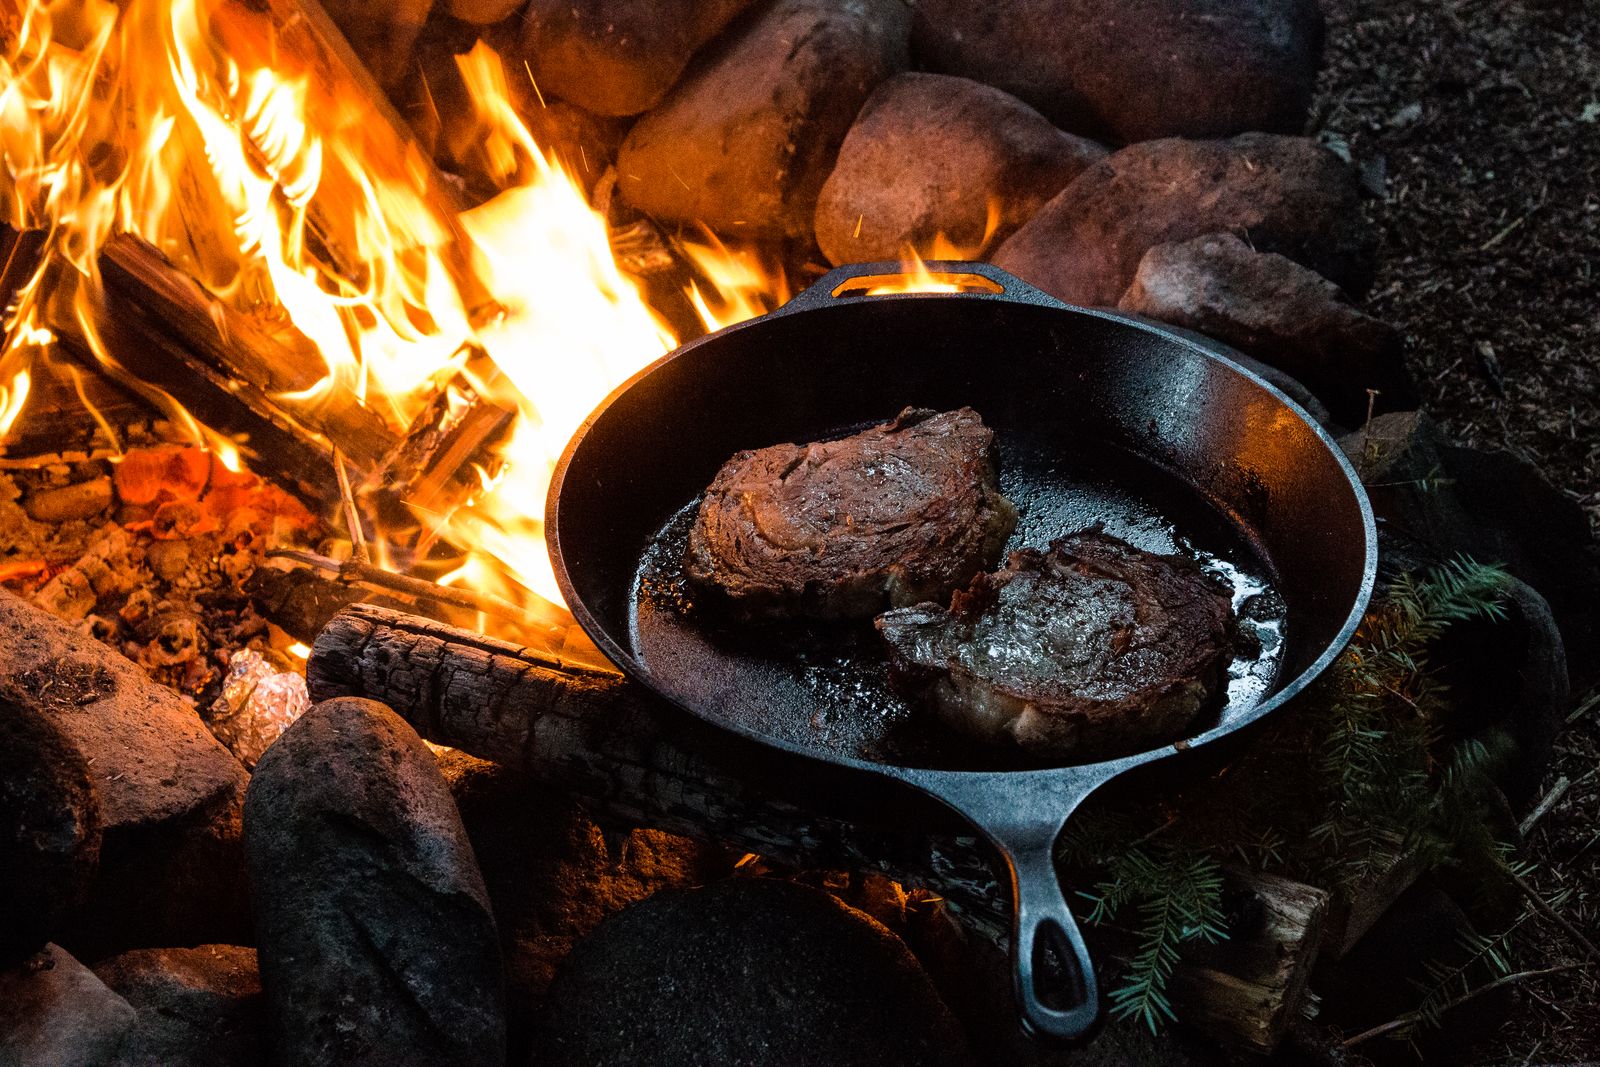
Heat a cast-iron skillet over medium-high heat until smoking. Add oil with a high smoke point—avocado or vegetable oil work well—then place the steak in the pan without moving it for 2 minutes. Flip and sear the second side for another 2 minutes without moving. This initial sear develops the Maillard reaction, the chemical process that builds the flavorful brown crust.
After both sides brown, reduce heat to medium and flip every 2 minutes for the remainder of cooking. Frequent flipping prevents the gray band of overcooked meat that forms when heat concentrates on one side too long, and it actually shortens total cooking time. Add a tablespoon of butter once the exterior browns, along with two crushed garlic cloves and fresh rosemary and thyme. Tilt the pan and baste the steak continuously by spooning the foaming butter over its surface. The browned milk solids in the butter add nutty richness, while the herbs infuse aromatic oils into the meat.
Cook to 5°F below your target internal temperature. Account for carryover cooking: the steak continues rising 5–10°F after leaving heat. The USDA recommends a safe minimum internal temperature of 145°F for beef, though personal preference often dictates lower doneness levels. Remove the steak when a meat thermometer inserted horizontally into the thickest part reads your target, then transfer it to a cutting board, tent it loosely with foil, and rest for 5–7 minutes.
Overnight dry brining improves both surface and interior by dissolving salt into a brine that diffuses back into the meat, seasoning it thoroughly and breaking down muscle proteins for better texture and moisture retention.
The Reverse-Sear Method for Thick Cuts
The reverse-sear inverts the usual order: slow-roast first, sear last. For steaks thicker than 1.5 inches, this prevents the exterior from overcooking while waiting for the interior to reach temperature. Preheat your oven to 200–275°F (lower is better if available). Place the seasoned, room-temperature steak on a wire rack in a rimmed baking sheet and slide it into the oven. Cook until the internal temperature reaches 105°F for rare, 115°F for medium-rare, 125°F for medium, or 135°F for medium-well. For a 1.5-inch steak, expect 20–30 minutes; thicker cuts may take 35–40 minutes.
Once the steak reaches temperature, remove it from the oven and let it rest on the counter for 5 minutes while you heat a cast-iron skillet over high heat until smoking. Add oil, then place the steak in the skillet for 45 seconds per side, searing until deeply browned. Add butter, crushed garlic, and herbs for the final 20 seconds, basting rapidly. Sear the edges by holding the steak sideways with tongs for 10 seconds. Since the steak is already at temperature, no additional resting is necessary—serve immediately.
Temperature and Doneness
Pull the steak from heat 5°F before your target temperature, accounting for carryover cooking. Use an instant-read meat thermometer inserted horizontally into the thickest part, away from fat or bone. The table below charts conventional doneness levels and their corresponding temperatures, plus the USDA safe minimum. Thin steaks under 1 inch thick need only 3–5 minutes rest; standard 1–1.5 inch cuts need 5–7 minutes; thick cuts 1.5 inches or more benefit from 8–10 minutes.
Finishing Touches
A well-rested steak will retain its juices when cut, delivering consistent flavor and texture throughout. The resting period allows muscle fibers to relax and reabsorb the moisture that was driven to the center during cooking. Finish with a light sprinkle of fleur de sel if desired—it won't dissolve into the hot meat as table salt does, providing textural contrast.
Pair your steak with a sharp knife and a cutting board. Slice against the grain, which shortens muscle fibers and improves tenderness. For cast-iron technique specifics, see how to season a cast-iron skillet, and to master knife skills for side dishes like how to cut an onion, follow the linked guides.