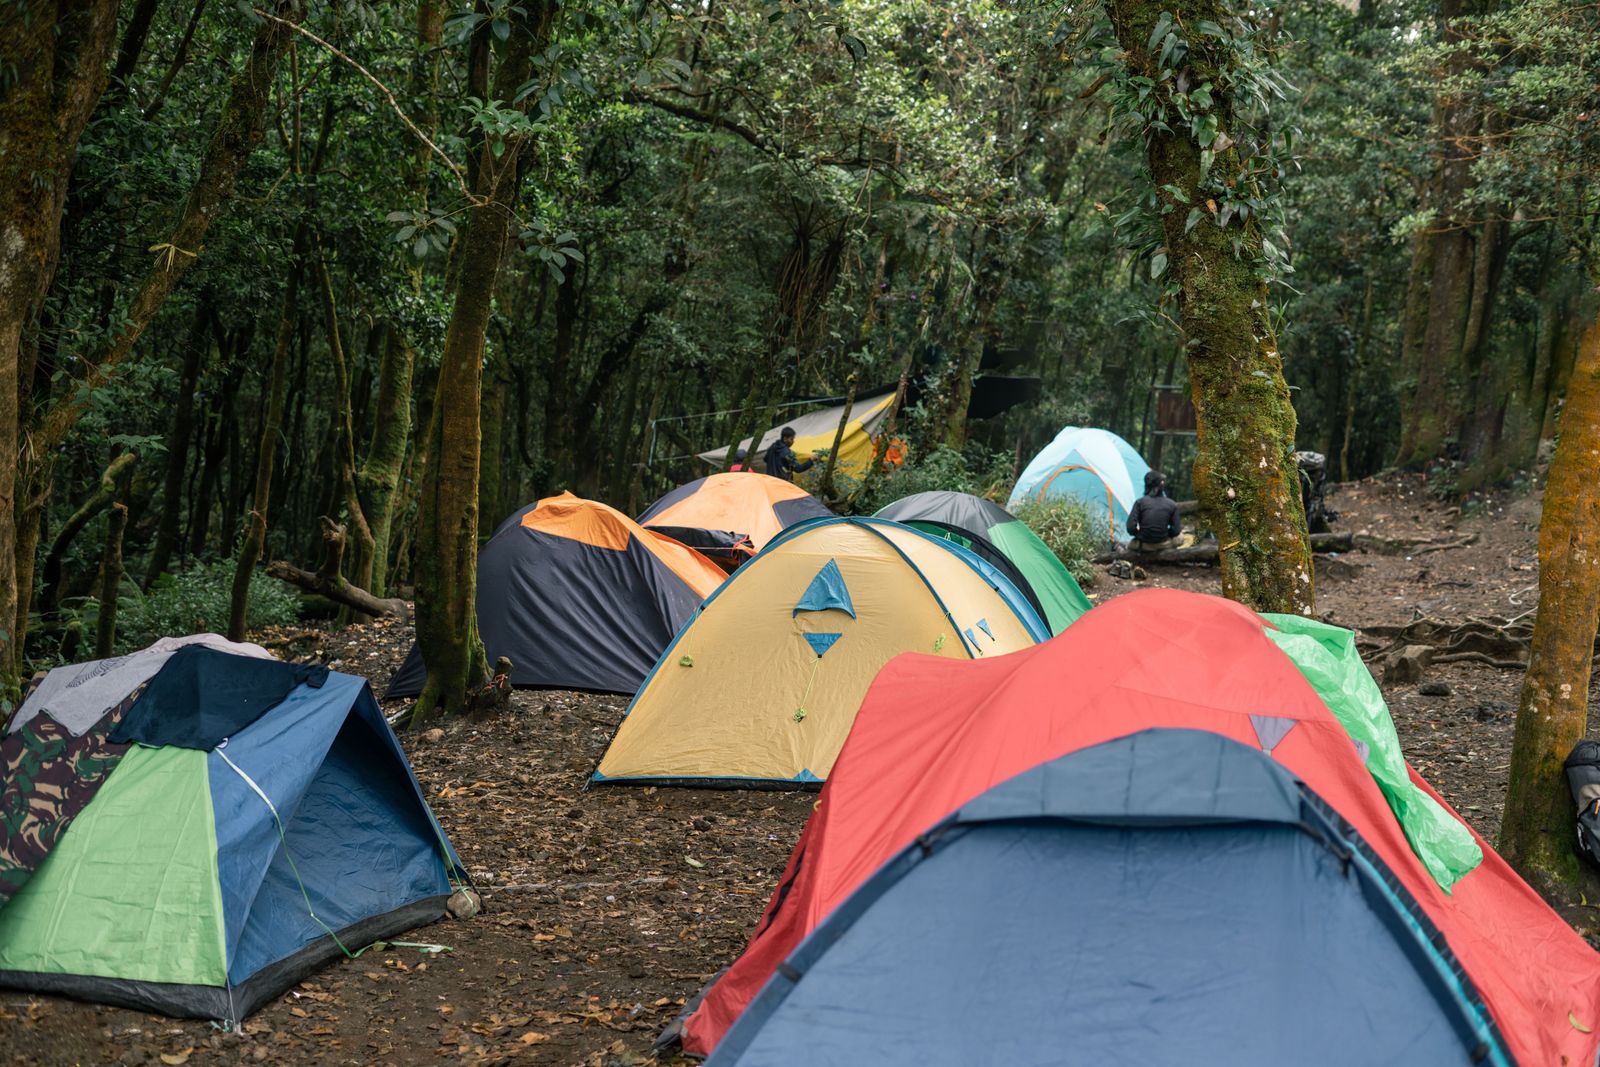
Choose a Flat, Well-Drained Site
Site selection determines whether you stay dry or wake in a puddle. The first rule is simple: find level ground. Avoid low-lying areas and field centers—cool, damp air settles in depressions, and runoff from rain or snowmelt naturally flows downhill into valleys. Aim for slightly elevated terrain with good drainage, away from bare rock faces and cliff edges where wind accelerates and lighting strikes concentrate.
According to the National Park Service, campers should select a location with your head on the uphill side while sleeping and maintain distance from dead trees, branches, and overhanging hazards overhead. Clear the site of sticks, rocks, pinecones, and debris that could puncture the tent floor or create uncomfortable lumps beneath your sleeping area.
Distance from water matters both for practical and environmental reasons. The Leave No Trace Center recommends camping 200 feet (roughly 70 to 80 adult paces) from lakes and streams—far enough that wildlife can access water undisturbed and that accidental spills or gray water won't degrade riparian zones. On cold nights, avoid camping immediately beside water, where air temperature drops further and moisture collects.
In high-impact areas where established sites already show wear, concentrate your tent placement and foot traffic on existing compacted zones. In undisturbed backcountry, spread out to avoid creating new trails, and move camp each night if possible. Good campsites are found, not made—leave no trace by resisting the urge to level ground, dig trenches, or move rocks.
Good campsites are found, not made. Leave no trace by resisting the urge to level ground, dig trenches, or move rocks.
Clear and Prepare the Ground
Once you've settled on a location, prepare it properly. Sweep aside or remove any twigs, sharp stones, pine cones, and debris. Walk the perimeter of your intended tent site to identify and clear obstacles. This step takes five minutes and prevents holes in the tent floor, discomfort from lumps, and damage that compounds over the season.
Use a tent footprint—a custom-fitted ground cloth that sits between tent and earth. According to REI Expert Advice, a footprint protects the tent floor from abrasion and won't collect rainwater the way a generic tarp can. The footprint should be sized slightly smaller than the tent floor (typically one to two inches inset on all sides); if it extends beyond the tent edges, it channels water underneath during heavy rain.
The footprint serves a dual purpose: it extends tent life by shielding fabric from wear and adds a waterproof barrier, giving you extra insurance against moisture seeping up from saturated ground. On forgiving surfaces like sand or grass, you may skip the footprint, but on rocky or root-laden terrain, it's worth the ounce or two of weight.
Assemble Poles and Stake the Tent Body
Before assembly, study your tent's design at home in daylight. Unfold the shock-corded pole sections one at a time, allowing the bungee cord to guide them into alignment naturally. Do not snap or flick poles together—the internal elastic guides joints properly if you give it time. Forcing sections risks bending tips and cracking connection points.
Lay assembled poles in the intended "X" pattern atop the tent (or insert them into sleeves, depending on design). Some tents clip poles to corners; others thread poles through fabric channels. Double-check that each pole is properly seated at both ends. Poles under tension are easier to manage than loose ones that shift mid-setup.
Drive stakes through the tent body's corner loops and grommet attachments into the ground at a slight inward angle (roughly 45 degrees toward the tent). Stake placement matters: each stake should be perpendicular to the direction its line or loop pulls. In soft ground, longer stakes work better; in rock or hard-packed earth, shorter stakes at steeper angles may be necessary. Check that the tent is snug but not torqued—even tension at all corners prevents uneven stress on poles and fabric.
Guylines keep the rainfly away from the tent body to minimize leakage and increase structural stability against wind and snow.
Deploy the Rainfly and Tension Guylines
Drape the rainfly (or fly) over the tent body and align its door opening with the tent's entry before attaching any connectors. The rainfly serves as your primary weather defense; improper placement defeats its purpose. Attach the fly to the tent poles or corner clips per your specific tent's design. A well-pitched tent has a taut rainfly with straps you can cinch at the tent corners; snug these evenly and recheck tension periodically.
According to the Appalachian Mountain Club, guylines serve two purposes: they keep the rainfly away from the tent body to minimize leakage potential, and they increase structural stability so that heavy winds and snow loads don't cause poles to flex excessively or break. Position each guyline as close to a right angle with its pole as possible; securing stakes three to six feet away from the tent achieves this geometry.
Drive each stake perpendicular to the direction of pull—not at 45 degrees away from the tent, but at a right angle to the guyline itself. This anchor angle prevents stakes from being pulled out in heavy wind. Use a trucker's hitch knot or a commercial guyline tensioner to cinch each line; avoid over-tensioning the first corner before the entire fly is deployed. Once the fly is fully seated, tension all corners evenly and verify that seams on the fly align with poles and seams on the tent body. Uneven tension invites wrinkles that trap water and stress individual areas.
Orient for Wind and Weather
Wind direction matters. Although some campers orient the tent's narrow end into the wind for reduced resistance, REI advises that it's more important to place the side with the strongest pole structure facing the prevailing wind. Position the tent door away from wind direction to prevent rain being driven into the interior. Check the weather pattern for your location; if afternoon thunderstorms typically roll from the west, orient accordingly.
On windy nights, double-check all guylines and stakes before sleeping. Wind can loosen lines over hours, and slack lines allow the rainfly to brush against the inner tent, which can cause condensation and leaking. A brief check takes seconds and prevents a wet sleeping bag.
For cold-weather camping, ensure ventilation while maintaining weatherproofing. The interior tent fabric (without the fly) allows moisture vapor to escape; the fly captures it. If the inner tent touches the fly, condensation condenses on the fly and drips into the tent. Proper guyline tension prevents this contact. In extreme cold or snow, clear accumulated snow from the fly periodically; its weight can sag the fly into contact with the inner tent or overload poles.
Takedown and Storage
Before leaving a site, return the ground to as close to its original state as practical. Remove all stakes, fill in any obvious holes, and scatter disturbed soil. Don't pack a tent while it's wet; moisture invited inside the packed bag causes mildew. If the tent is damp from morning dew or rain, allow it to dry at home. Lay it out in sun or hang it in a garage for an hour or two before rolling and storing.
When packing, stuff the tent and fly loosely into a mesh bag (not a tight compression sack, which stresses pole junctions and fabric creases). Store poles separately if possible, or lay them alongside the tent. Keep stakes in a pouch, and bag the footprint separately. Keep the tent in a cool, dry place, away from direct sunlight and heat. UV exposure degrades fabric and waterproof coatings over years of storage.
Inspect the tent annually for wear, small tears, or seam separation. Address small holes with patching tape or sealant before they spread. Recoat the fly with waterproofing spray every two to three seasons, depending on use. Proper care extends a tent's serviceable life from five years to ten or more.