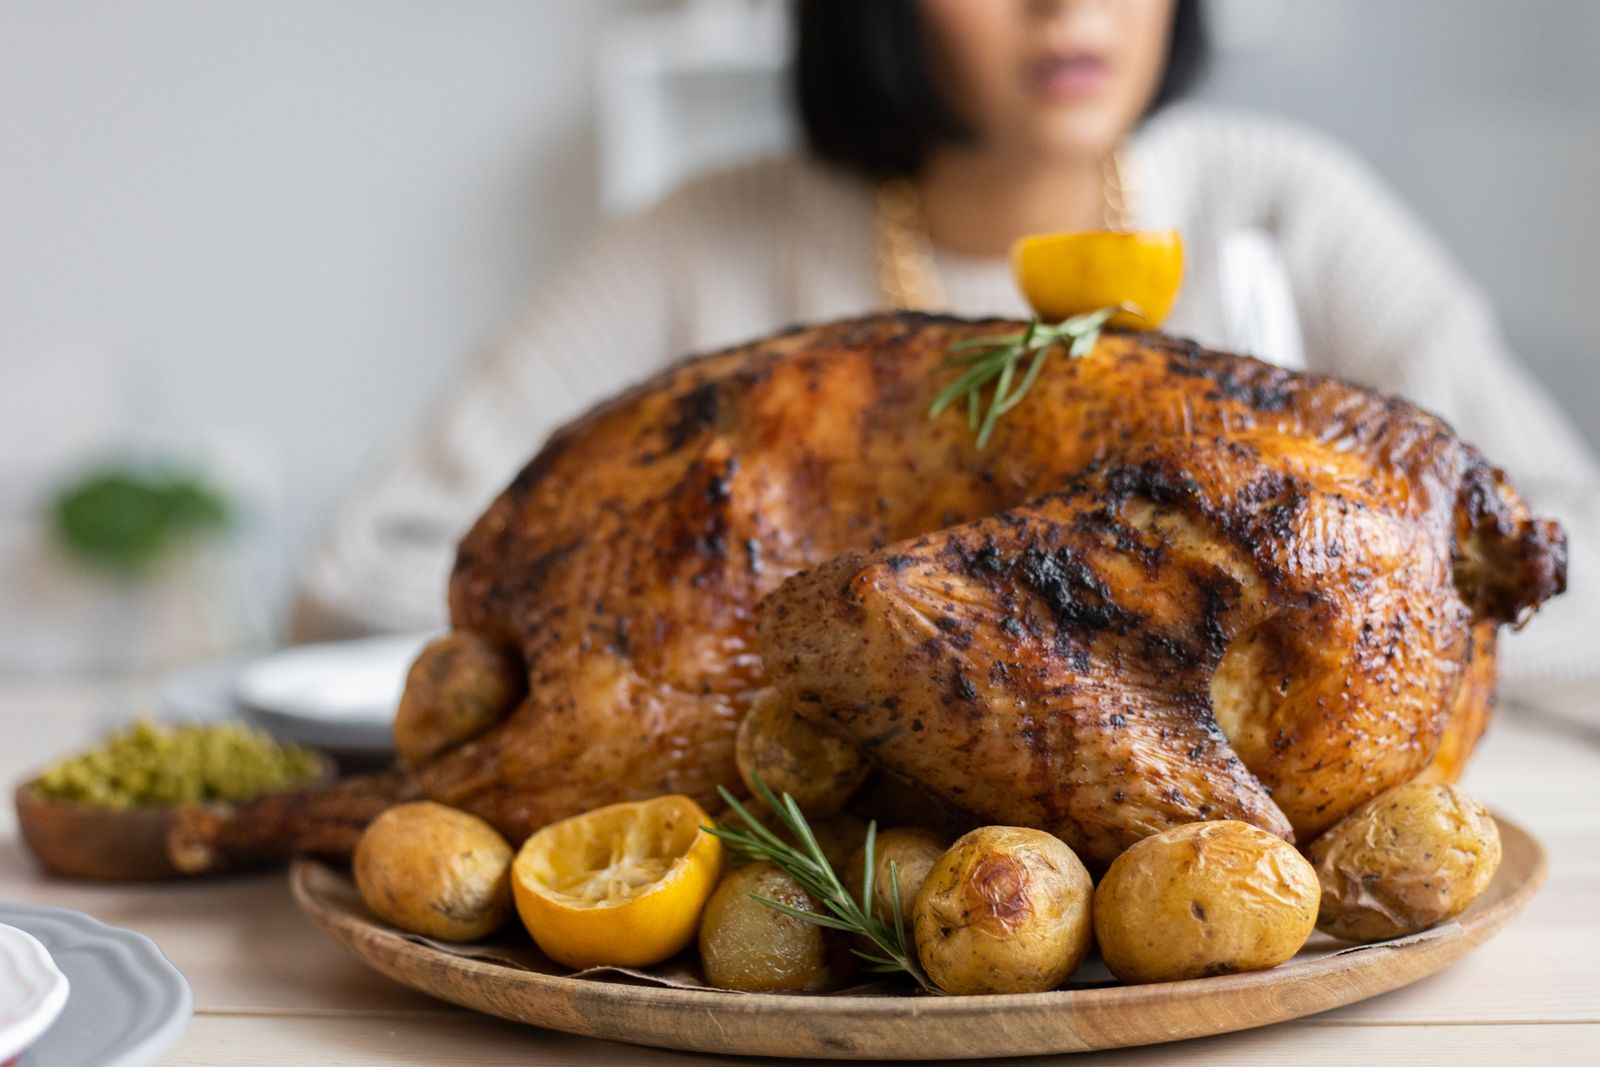
Before the Blade Touches Meat
A turkey fresh from the oven is too hot to handle safely and too hot to carve with precision. Let it rest for 20 minutes to 1 hour before you begin—longer for larger birds. Resting allows carryover cooking to finish and lets the juices redistribute throughout the meat rather than pooling on the cutting board. The surface will cool enough to grip, and the meat will be easier to separate at the joints.
Verify the bird is food-safe before carving. The USDA mandates an internal temperature of 165°F in the thickest part of the thigh, innermost wing, and thickest part of the breast. Use a meat thermometer and avoid touching bone, fat, or gristle with the probe, as these conduct heat and give false readings. Remove any stuffing from the cavities and set it aside before carving.
Equip yourself properly. A sharp 8- or 10-inch chef's knife or boning knife is non-negotiable—dull blades slip, require more pressure, and produce ragged cuts. Pair it with a carving fork to steady the bird. Position the turkey on a stable cutting board with a meat groove to catch and contain juices. Some cooks warm the serving platter in a 200-degree oven beforehand, which keeps the meat warm longer.
Resting allows carryover cooking to finish and lets the juices redistribute throughout the meat rather than pooling on the cutting board.
Remove the Legs and Thighs
Start with the legs. Keep the turkey breast side up and place your fork in the upper wing to stabilize the bird. Cut through the skin between the right leg and the breast, exposing the hip joint. Grasp the drumstick end and pull the entire leg quarter outward and backward—you'll feel it separate as the hip joint dislocates. If needed, use the knife point to cut through any remaining tissue to fully free it. Repeat on the left side.
The thigh and drumstick are connected by a thin line of fat and a single joint. Locate this seam on the underside of each leg quarter. Cut through the joint completely, separating the thigh from the drumstick. If you intend to slice the meat off the bone, position the thigh skin-side down and carve parallel to the bone, leaving the skin attached. Do the same with the drumstick. Drumstick meat can be carved off cleanly or left whole for informal service.
Remove the Wings
With the legs out of the way, the wings are exposed. Pull the right wing away from the breast and make a long horizontal cut through the meat and connective tissue where the wing meets the body. Push the wing down and back—it will separate cleanly when you've cut through the joint correctly. Repeat on the left side. Wings can be served whole or split at the drumette-to-flat joint if preferred.
Before moving to the breast, take a moment to locate and remove the 'oyster'—a small knot of dark meat on the back of the bird above where the thighs were. These are choice morsels worth claiming; a firm pull and a knife stroke dislodges them easily.
A sharp knife and proper joint anatomy are the only real skill required. The bird itself teaches you where to cut if you pay attention to the anatomy.
Carve the Breast
The breast is the centerpiece and demands clean lines. Starting at the top of the breast near the neck, run your knife along the breastbone in long, smooth motions—not sawing, but slicing downward and slightly forward. The goal is to remove each breast half in one large piece first. Once off the bone, place the breast skin-side down and slice crosswise against the grain into ¼-inch-thick slices. Each slice should retain some skin.
The grain of the breast meat runs lengthwise along the breastbone. Slicing against the grain breaks up the muscle fibers and makes each bite more tender. Hold the skin in place as you slice so it doesn't separate from the meat. If carving for plating, arrange the slices slightly overlapped on the warm platter, grouping light and dark meat to let guests choose their preference.
Plate with Purpose
Arrange the meat on the platter by type. Group the breast slices in the center, thighs on one side, drumsticks on the other, and wings filling gaps. If the platter has been warming, the meat will stay at a safe temperature far longer. Serve immediately while the exterior is still warm and the juices are still running clear.
Any carved meat not served immediately should be refrigerated within two hours. Leftovers are safe in the refrigerator for up to four days and can be frozen for later use. Properly handled carving leaves the presentation clean and the logistics simple—just the way a capable cook prefers it.
Carving Steps at a Glance
| Step | Action | Details | |------|--------|----------| | 1 | Rest the turkey | 20 minutes to 1 hour depending on size | | 2 | Verify food safety | Internal temp: 165°F in thigh, wing, and breast | | 3 | Remove legs | Cut through skin, locate hip joint, pull away | | 4 | Separate thigh/drumstick | Cut through the seam on the underside | | 5 | Remove wings | Cut horizontally at the wing-breast joint | | 6 | Remove oysters | Small dark meat on the back above thighs | | 7 | Carve breast halves | Slice along breastbone in long smooth motions | | 8 | Slice breast meat | Cut crosswise against the grain, ¼-inch thick | | 9 | Arrange on platter | Group by type; keep warm and serve immediately |