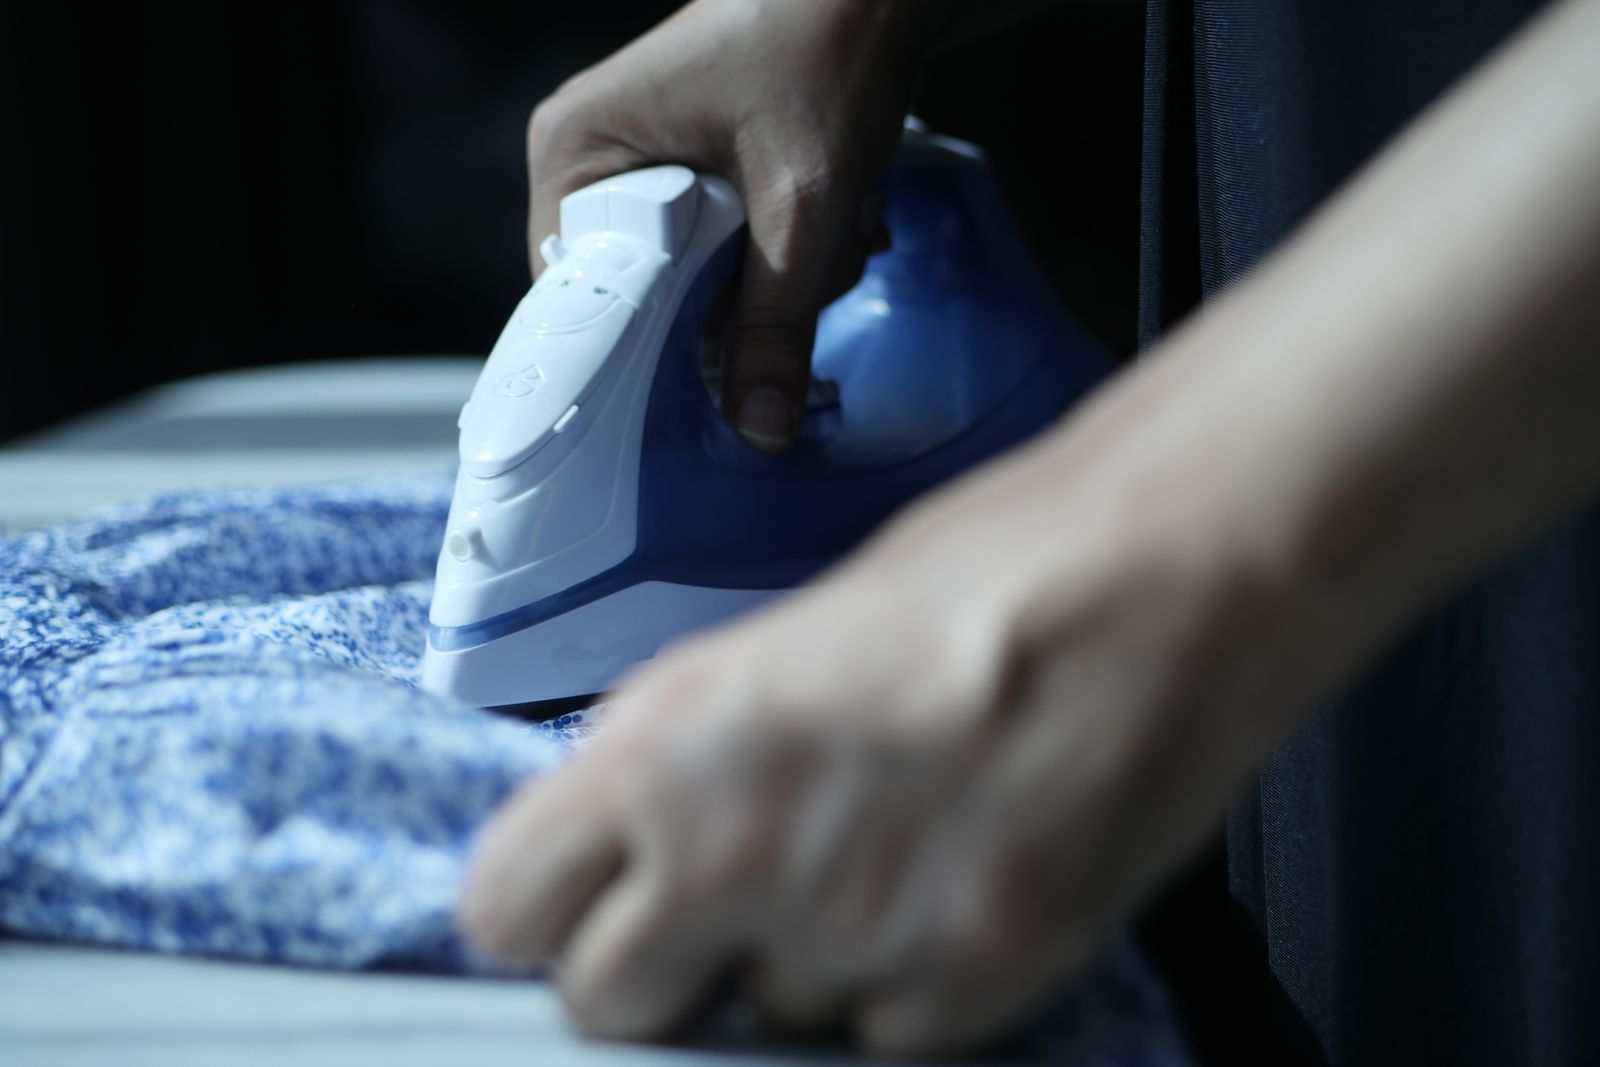
Why Ironing Matters
A dress shirt is the quickest garment to iron correctly, and the difference between a man who irons and a man who doesn't is visible from across a room. Wrinkles signal either carelessness or an indifference to presentation. A crisp collar, pressed cuffs, and smooth body convey intentionality. Ironing is not a refinement; it's a baseline.
The process is mechanical and learnable. There is a correct order, correct temperatures by fabric, and correct technique for each section. Follow them and the result is repeatable.
A crisp collar, pressed cuffs, and smooth body convey intentionality. Ironing is not a refinement; it's a baseline.
Heat Settings by Fabric Type
Heat is the critical variable. Too little and wrinkles persist; too much and the fabric shines, weakens, or melts. The care label on your shirt specifies the safe maximum. When in doubt, test on a hidden seam or inner hem first.
Cotton dress shirts require the highest heat: 350–400°F (175–200°C). This temperature relaxes the hydrogen bonds in the fibers, allowing them to set crisp and hold the press longer. Cotton can withstand high heat without damage.
Polyester and synthetic blends require medium heat: 250–300°F (120–150°C). Synthetics are heat-sensitive and will melt, warp, or develop permanent shine marks at temperatures above 300°F.
For cotton-polyester blends, use the lower temperature—300°F (150°C)—to protect the synthetic fibers. Always default to the most delicate fiber in the blend.
Use light steam with synthetics and polyester blends. Use regular or heavy steam with 100% cotton. Steam penetrates thicker natural fibers more effectively at high temperatures but can scorch or spot delicate synthetics.
The Order: Collar, Cuffs, Yoke, Sleeves, Body
The sequence matters. Ironing in the wrong order forces you to re-press sections you've already finished. Follow this exact sequence every time.
**Collar:**
Start by popping up the collar and removing the stays (plastic or metal stays) if they're removable. Iron the underside of the collar with short, controlled movements from the edges inward toward the center stand. Use the pointed tip of the iron to reach the collar points. Then flip the collar face-up and repeat on the outside, pressing from the points inward and down toward the collar stand. Fold the collar back to its normal position and press it flat one final time. The collar is the focal point of the shirt; spend time here.
**Cuffs:**
Unbutton the cuff and lay it flat. Iron only the outside face, avoiding the buttons entirely. Press from the edges inward for a crisp result. Then unfold the cuff and press the inside, repeating the edge-inward technique. Do both cuffs before moving on.
**Yoke (Shoulder Panel):**
Use the shaped tip of the ironing board or a sleeve board to separate the yoke layer from the rest of the shirt. The yoke is a double layer at the shoulders and requires firm pressure. Work from the outer edges of the yoke inward, pressing the seams flat. This section prevents bunching in the shoulders.
**Sleeves:**
Lay one sleeve flat on the ironing board with the seam facing upward. Position the sleeve slightly over the edge of the board to avoid creating unwanted creases on the underside. Iron from the top of the sleeve (near the shoulder) downward toward the cuff, pressing along both sides of the seam. Flip the sleeve, position it the same way, and press the other side. Repeat for the second sleeve. Avoid pressing a crease into the front of the sleeve unless the shirt has a permanent crease line (check the original seam).
**Body (Chest, Sides, Back):**
Iron the yoke section first if you haven't already. Then press the back panel by laying it flat on the board, working from the edges inward and top to bottom. Iron both sides of the placket (the button panel on the front) carefully, avoiding the buttons—use the narrow tip of the iron to navigate around them. Finish with the front panels and sides, using the curved contour of the ironing board to accommodate the shirt's shape. Work one side of the body, then rotate and press the other side.
The sequence matters. Ironing in the wrong order forces you to re-press sections you've already finished.
Steam and Technique
Steam is a working tool, not an afterthought. Use heavy steam on cotton throughout the process, particularly after you finish the collar and cuffs. Light or minimal steam on synthetics and blends to avoid spotting.
Apply consistent, even pressure. Use short, controlled movements rather than broad sweeping strokes. Broad sweeps introduce new wrinkles. Short, deliberate presses flatten existing wrinkles and set the fabric. Press perpendicular to the grain when possible—this reduces shine on dark shirts.
Iron dark or delicate fabrics inside-out or use a pressing cloth between the iron and the fabric. Direct contact with a hot iron on dark cotton can create a permanent sheen that's difficult to remove.
The entire process—collar through body—takes 15 to 25 minutes depending on shirt condition and your speed. A shirt that's slightly damp irons faster and more thoroughly than one that's completely dry. If your shirt has dried completely, lightly mist it with water or use the iron's spray button.
After Ironing: Cooling and Hanging
Hang the shirt immediately after ironing. Do not fold it while it's still warm—new wrinkles will set in as the fabric cools. Use a proper wooden or padded hanger (plastic hangers crease the shoulders) and button the top two buttons to maintain collar shape.
Allow each section to cool briefly before moving to the next one during ironing. This helps set the press and locks in crispness. Once you've finished the entire shirt, hang it and let it cool completely—usually 10 to 15 minutes—before moving it to a closet or storing it.
If you must fold the shirt (for travel or drawer storage), wait until it has cooled completely. Button all buttons, lay the shirt flat, fold the sleeves across the back in an X shape, then fold the sides to the center. Fold from the bottom upward in thirds. Keep storage stacks short and give shirts breathing room—excessive weight will crease them.
Common Mistakes to Avoid
**Ironing the front of the sleeves.** Dress shirt sleeves should not have a crease down the front unless the shirt was manufactured that way. Lay the sleeve flat and press both sides of the seam, not the face of the sleeve.
**Skipping the underside of the collar.** The underside of the collar is visible when you turn your head. Iron both sides with equal care.
**Ironing over buttons.** The iron tip will damage buttons and leave marks on the fabric. Navigate around buttons using the pointed tip of the iron, or iron the placket and button area from the reverse side.
**Using too much heat on blends.** The urge to crank the heat is the most common error. Synthetics melt below 300°F. A cotton-polyester blend should default to medium heat unless the care label specifies otherwise.
**Letting the shirt cool while folded.** Wrinkles set as fabric cools. Hang the shirt and allow it to cool completely before storage or transport.