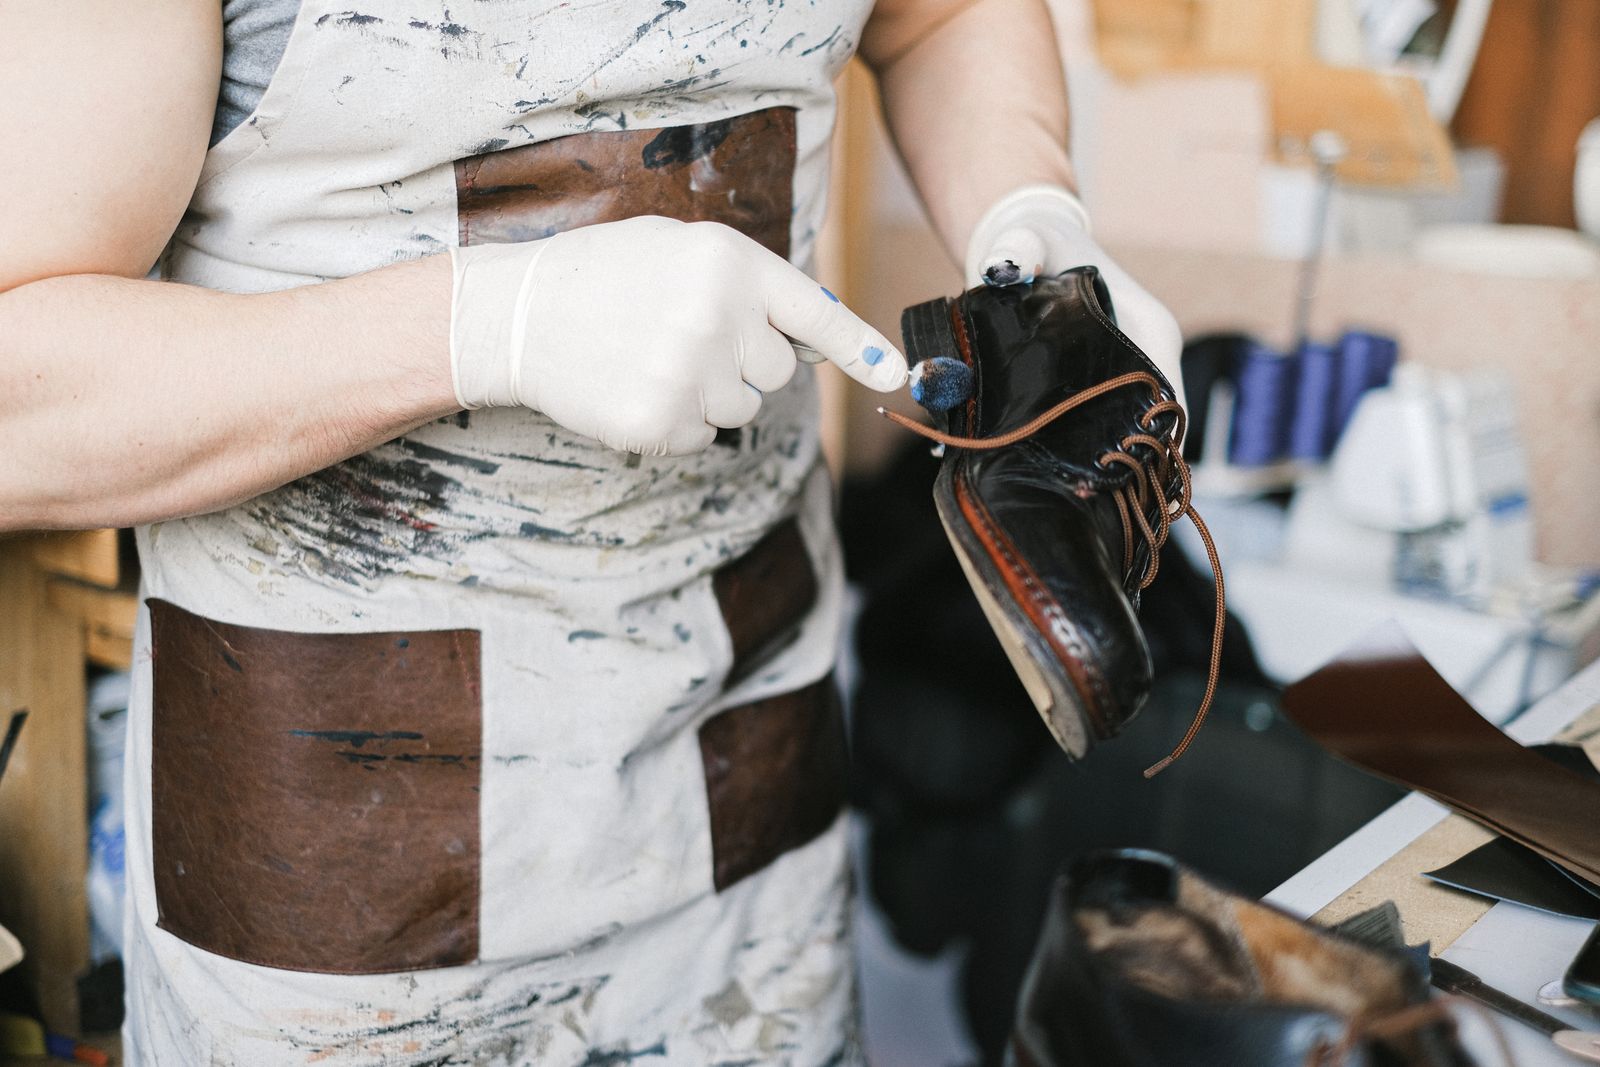
Why Soldiers Shine Shoes
The military tradition of the spit shine is not cosmetic vanity. A polished shoe signals discipline, attention to standards, and the habit of caring for the tools of the trade. In military culture, the shine is a proxy for order—when a man maintains his footwear to a mirror-like finish, he maintains standards everywhere. Leather shoes are the soldier's platform; they ground him in professionalism.
From a purely material perspective, shoe polish is a protective layer. According to Gentleman's Gazette's research with expert polisher Anders Sundström, the wax in shoe polish fills the microscopic peaks and valleys in leather, protecting the material from water, salt, and atmospheric degradation. A properly polished shoe lasts longer, ages more evenly, and maintains its structural integrity under repeated wear. The shine is a byproduct; the protection is the point.
The biggest mistake most people make is applying too much polish at once—use thin layers instead.
The Supplies You Need
Shoe shining requires minimal equipment, but the quality of each tool matters. Begin with shoe polish. There are two categories: cream and paste. Cream polish (water-based emulsion) is applied first for general shine and leather conditioning. Paste polish (wax-based) is applied later for the mirror shine on isolated areas like the toe and heel. Kiwi offers affordable, widely-available paste polish in neutral, black, brown, and tan; Saphir Médaille d'Or produces premium French wax polish, with their Pommadier cream and Pâte de Luxe wax serving as the standard for professional work.
You will need a horsehair shine brush (large, for buffing and dusting), a smaller shoe polish brush (for initial application), clean cotton cloth or cotton balls, and cold water. The cotton cloth is critical—old, tightly-woven cotton (from a white T-shirt) works best because it creates friction and control when damp. Avoid fuzzy fabrics that shed or leave lint.
A shoe tree, placed inside the shoe during drying, prevents creasing and gives the leather a stable surface to rest on. Finally, choose a clean work surface—newspaper or an old towel prevents wax splatters on furniture.
Step 1: Clean and Condition
Before any polish touches the shoe, clean away dust, dirt, and salts that accumulate on the leather. Use a dry horsehair brush to remove loose debris, or a damp cloth for stubborn grime. Allow the shoe to dry completely—wet leather is porous and will not hold polish evenly.
Next, condition the leather. Per Saphir's smooth leather care guide, apply a leather conditioner like Saphir Renovateur using a clean cloth, working it into the leather in circular motions. Allow it to soak for 5 minutes, then gently brush off excess with the horsehair brush. Conditioning nourishes leather, preventing it from drying and cracking—it is not optional. A well-conditioned shoe accepts polish more evenly and lasts years longer.
Multiple thin layers of wax build a flat, reflective surface far better than one thick application.
Step 2: Apply Cream Polish (Initial Shine)
Cream polish creates the foundation. Using your smaller shoe polish brush, apply cream polish in thin, even layers across the entire shoe. The most common error, per Gentleman's Gazette, is applying too much polish at once—"the biggest mistake most people do is grabbing a bunch of goo of the wax and trying to put that on the surface." Instead, use a small amount and spread it evenly with circular motions.
Allow the cream polish to dry for 10–15 minutes. The surface will appear slightly dull and powdery as it sets. Once dry, use the horsehair shine brush to buff the entire shoe vigorously. This removes excess polish and creates the first level of shine. Brush in one direction, then crosshatch for even results. The shoe should now have a satin finish—dull but uniform.
Step 3: Build the Mirror Shine (Spit-Shine Technique)
The mirror shine—the hallmark of military polish—is built on the toe cap and heel counter, the hard, non-flexing parts of the shoe. Spit shine is not actually spit; it is wax polish applied with water as a lubricant, built in thin layers. The technique demands patience and precision.
Wrap clean cotton cloth tightly around your index and middle fingers. Dip the cloth into cold water—just enough to dampen it, not saturate it. Then press the cloth firmly into your paste polish tin (Kiwi or Saphir Pâte de Luxe). You will notice the cloth becomes colored with polish. Using small circular motions, apply this thin layer to the toe cap. Do not scrub; glide the cloth in light circles with consistent pressure.
Allow 5–10 minutes for the wax to set. Repeat with a fresh piece of cotton, applying another thin layer. The key principle, per Anders Sundström's expertise documented by Gentleman's Gazette, is that multiple thin layers build a flat, reflective surface far better than one thick layer. Continue layering until the toe and heel achieve a glossy, mirror-like appearance—typically 5–8 applications per area.
Listen for the sound as you polish: a light squeak indicates proper friction and wax saturation; a scratching sound means you need more wax as a lubricant. If the surface becomes gummy or uneven, you have applied too much water. Return to dry circular motions until the surface firms up.
A polished shoe signals discipline, attention to standards, and the habit of caring for the tools of the trade.
Step 4: Final Buff and Maintenance
Once the toe and heel achieve the desired shine, use a clean, dry horsehair brush to gently buff the entire shoe, removing any dust or residue. Avoid aggressive brushing on the mirror-shined areas—use light, directional strokes. The brushing removes minor imperfections and evens the appearance.
A well-polished pair of shoes will maintain its shine for 1–2 weeks with normal wear. Light repolishing—a few passes with damp cotton and fresh wax on the toe and heel—restores the shine without requiring a full reconditioning. For shoes worn every 2–3 weeks, Kiwi recommends a full polish cycle every 2–3 weeks. For daily wear shoes, a quick buff with a dry cloth and a light application of cream polish once a week extends the finish.
Important: Never apply mirror shine to the flexing areas of the shoe—the vamp, the sides, or the heel counter where movement occurs. The wax will crack and peel as the leather moves. Restrict mirror shine to the toe cap and the structural areas that do not bend during wear.
The Supplies & Timeline Reference
Use this table to organize your materials and understand the time commitment for a full shine cycle: