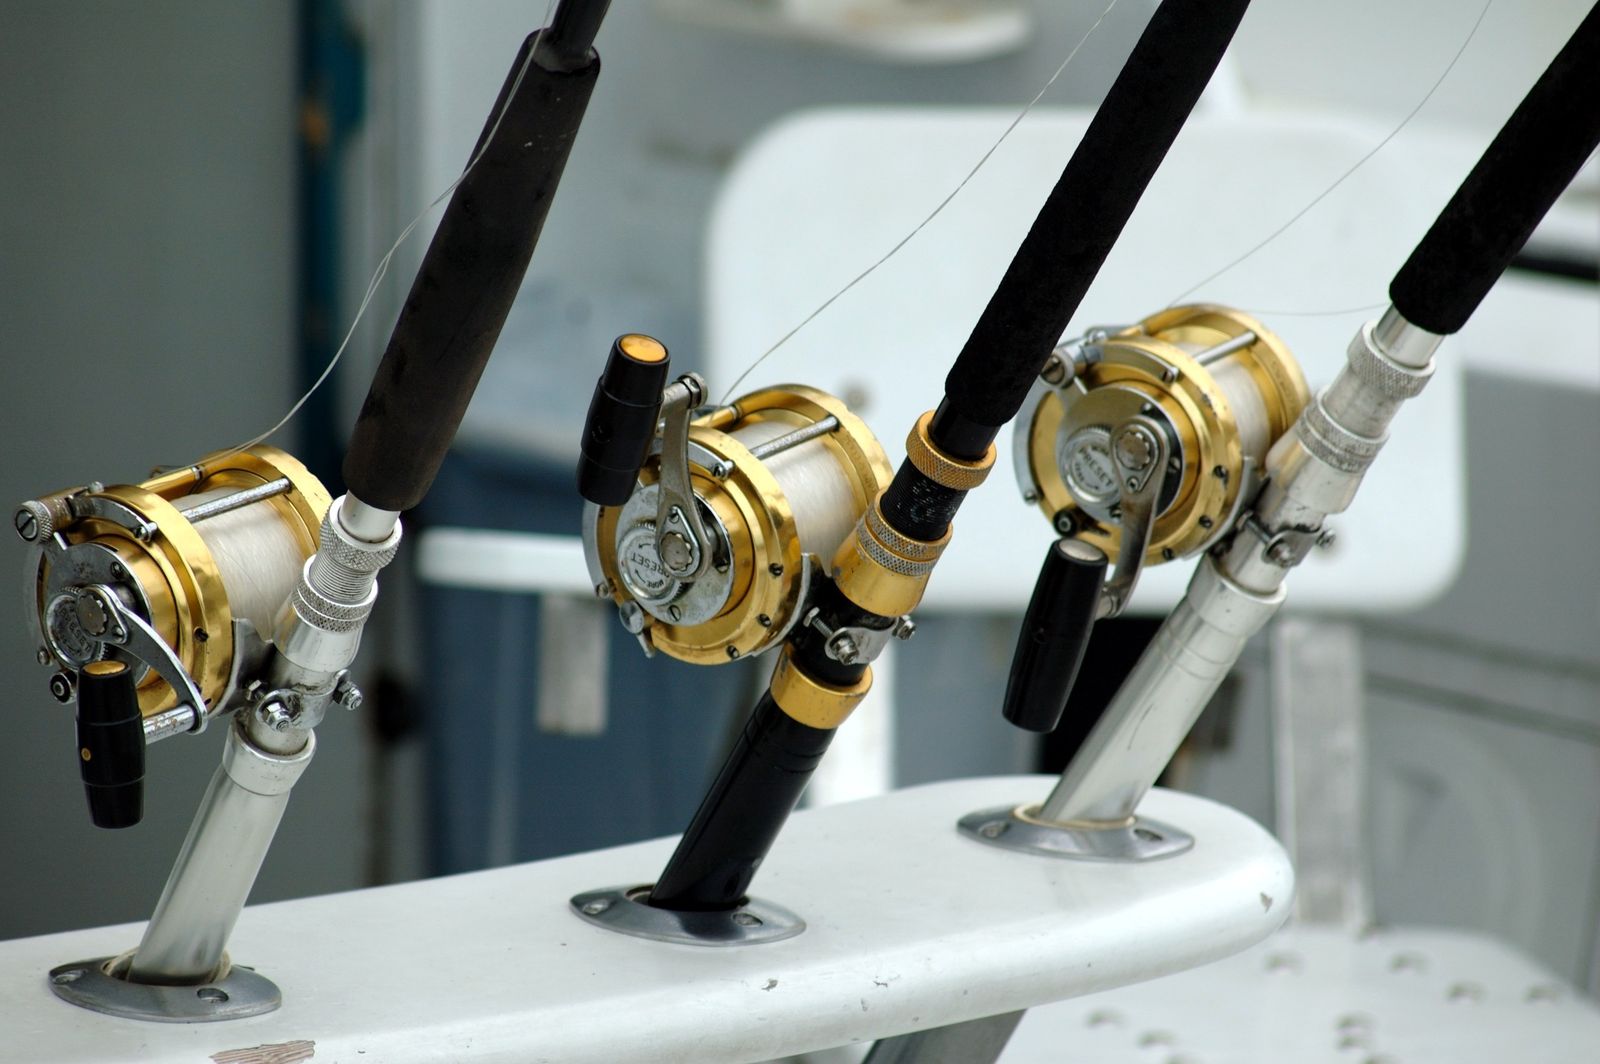
Choose Your Reel Type
Three main reel configurations suit different skill levels and fishing styles. Spincast reels—the simplest option—mount on top of the rod with a push-button release mechanism, making them ideal for children and absolute beginners, though their enclosed design makes tangles difficult to diagnose. Spinning reels mount below the rod with an open bail that flips back during the cast, offering a gentler learning curve, fewer backlashes, and better budget accessibility than other options. Baitcasting reels (also called conventional reels) sit atop the rod and demand technique to avoid backlashes—they reward practice with superior casting distance, accuracy, and line control.
For novice anglers, spinning reels strike the best balance between ease of use and functionality. Match your reel to your rod's specifications: the reel seat has a fixed size, and the reel's line-rating range must align with your intended target species.
Spinning reels strike the best balance between ease of use and functionality for novice anglers.
Assemble the Rod and Mount the Reel
If starting with a two-piece rod, align the guides by sliding the sections together with a slight twist—the guides should form a straight line down the blank. Forcing the sections risks breaking them; light hand-turning suffices.
Slide the reel foot into the reel seat until it sits flush. Tighten the locking nut firmly with your hand—no wobble, no play—but avoid over-torquing, which can strip the seat. Ensure the reel stem aligns with the rod's guide line; misalignment will twist your line path and cause casting issues. The reel handle should sit comfortably in your dominant hand's grip zone.
Spool Your Reel with Line
Select line weight by matching your rod's label rating and your target species. Bass on freshwater lakes typically call for 6–12 pound monofilament or 15–20 pound braided line; trout demand lighter 4–8 pound monofilament; saltwater species require heavier options (15–30 pound ranges depending on target). Monofilament offers better knot strength and stretch, while braided line delivers superior strength-to-diameter ratio and minimal stretch, meaning lighter equipment holds heavier fish.
To spool: Tie your line to the reel's arbor (the central spool) using an arbor knot—wrap line around the arbor, make an overhand knot around the standing line, then make a second overhand knot 1–2 inches above the first. Cinch both knots tight against the arbor. Thread the line through your rod's first guide (the stripper guide nearest the reel) and continue through each guide toward the tip. Keep the line under light tension as you turn the handle, distributing the line evenly across the spool. Fill the spool until it sits roughly 1/8 inch below the rim—overfilling causes line slippage and casting trouble; underfilling reduces distance. Stop turning before the line reaches the very edge.
Tie Your Terminal Tackle
Terminal tackle—hooks, lures, and swivels—attach to your line's end via knots. The improved clinch knot remains the gold standard for monofilament: pass line through the hook eye, wrap the tag end around the standing line 5 times, insert the tag between the eye and the first loop formed, then bring the tag through the larger second loop. Wet the knot and tighten slowly for maximum strength. Braided line benefits from a dedicated braid knot or an Albright knot due to braid's low friction—the improved clinch alone can slip.
For terminal tackle selection, start with a basic hook matched to your target species and learn foundational knots at your own pace. As skills develop, explore specialty rigs.
Proper drag prevents heartbreaking breaks and hook-outs—too-tight snaps line, too-loose lets fish run unchecked.
Build Three Essential Rigs
**Bobber Rig.** The simplest and most effective starter setup: tie a hook to your line's end using an improved clinch knot. Pinch one or two split-shot weights onto the line 6–12 inches above the hook to control depth. Attach a bobber to the line 3–5 feet above the hook using a spring clip (bobbers slide freely to adjust depth). This rig suspends live bait or soft plastics at a preset depth—ideal for panfish, trout, and bass in shallow water.
**Carolina Rig.** A workhorse for bottom fishing and dragging structure. Slide a 1/4 to 3/4-ounce egg sinker onto your main line, followed by a plastic bead, then tie a barrel swivel. Attach a 12–24 inch leader (using lighter fluorocarbon) to the swivel's opposite end, then tie a hook or jig to the leader. Thread soft plastic onto the hook. The bead buffers the weight, producing subtle sound that attracts fish while the sinker stays on bottom and the lure trails above in a natural, lifelike presentation.
**Drop Shot Rig.** Designed for vertical jigging in clear, deep water: tie a hook to the midline using a Palomar knot, leaving 12–24 inches of tag line dangling below. Tie an egg-shaped weight to the tag's end. Cast and work the rig vertically; the hook floats above the weight, presenting bait or soft plastic naturally without snagging bottom. Sensitive for detecting soft bites in difficult conditions.
Set Your Drag
Drag is the mechanism that allows controlled line release under tension—preventing line breakage when a fish runs hard while keeping pressure sufficient to set the hook and exhaust the fish. Most reels adjust via a knob (spinning) or star-wheel (baitcasting) at the spool's front or side.
Drag settings follow established percentages of line breaking strength: for monofilament, set drag at 20% of breaking strength (for 20-pound test, roughly 4 pounds of tension), 25% for 30–50 pound mono, and 30% for heavier mono. Braided line, which lacks stretch, requires lighter settings—15% for 20-pound braid, 20% for 30–65 pound, and 25% for heavier braid. Use a spring scale to verify: tie your line directly to the scale and pull horizontally; when the scale reads the target percentage, lock your drag. A common field method: pull the line by hand—it should release under firm steady pressure but not slip under light thumb pressure.
Proper drag prevents heartbreaking breaks and hook-outs. Too-tight drag snaps line; too-loose drag allows fish to run unchecked. When a fish is on, avoid adjusting the drag mid-fight—instead, use your hand to 'feather' the spool (light fingertip pressure) for extra braking when needed.
Final Checks Before Casting
Verify line is threaded completely through all guides, including the guide nearest the reel and the tip-top. Wiggle your rod tip—if line doesn't flow smoothly through all guides, you'll experience severe distance loss and casting trouble.
Test your drag with steady hand-pulling—the reel spool should turn smoothly, not stick or grab. Cast and retrieve 20–30 feet in your yard to confirm line flows freely and the reel operates without noise or grinding.
Check your local state fish-and-wildlife agency for licensing and species-specific regulations (minimum size, season, daily limit). Saltwater anglers should verify NOAA Fisheries regulations for their region. A valid fishing license is legally required in virtually all states and many require separate saltwater permits.