Keep the Catch Cold First
The clock starts the moment a fish leaves the water. Fresh fish deteriorates rapidly, and temperature control determines the difference between a quality meal and a waste of effort. Maintain fish in a live well during the day, or place it directly into a cooler with ice as soon as practical. Transport it home immediately after finishing, keeping it at 32°F or below.
Once home, store the whole fish on ice in your refrigerator's coldest section, or pack fillets in sealed plastic bags and cover with ice in a shallow pan. Fresh fish keeps 1–2 days under these conditions. Freezer storage extends this to several months at 0°F or below in airtight, moisture-proof packaging.
Never leave cleaned fish at room temperature for more than 1–2 hours. The combination of cold and clean surfaces prevents bacterial growth and preserves the delicate flesh that makes the effort of cleaning worthwhile.
A dull blade is a dangerous blade. A sharp fillet knife performs clean cuts with minimal pressure, preserving the structure of the meat and removing less usable flesh in the process.
Choose the Right Tool: Why Knife Sharpness Matters
A dull blade is a dangerous blade. Professional fishmongers and fish biologists agree: a sharp fillet knife is non-negotiable. Dull knives require excessive force, which increases slip risk and crushes tissue rather than cleanly severing it. Crushed flesh is more prone to bacterial contamination and has inferior texture when cooked.
A sharp fillet knife performs clean cuts with minimal pressure, preserving the structure of the meat and removing less usable flesh in the process. Factory-sharpened blades arrive at 20–22 degrees per side; professional work requires 15–18 degrees. A sharp knife should meet a fingernail test: when held at a shallow angle against the back of your fingernail, it should grip slightly without slipping. If it slides, sharpen it.
Maintain your knife by hand-washing immediately after use. Dishwashers and air drying damage both the edge and handle through temperature shock and harsh detergents. Store it in a sheath or blade guard in a dry location, away from the humid environment of a wet sink where corrosion takes hold.
Scaling: Removing the Outer Layer
Scaling precedes gutting because it generates waste and loose scales. Lay the whole fish on newspaper for easy cleanup—scales scatter if you skip this step. Rinse the fish under cold running water first; moisture loosens the scales and makes them easier to remove.
Grasp the fish firmly by the tail. Using a fish scaler, the blunt edge of a butter knife, or the spine of another knife, scrape from tail to head against the grain. The key is downward pressure and consistent motion; scales come off in clusters when the angle is right. Turn the fish over and repeat on the other side. Run your finger along the body to confirm all scales are removed; a single missed scale is unpleasant at table.
Rinse once more to remove loose scale fragments and any residual slime. Some species leave behind a dark tissue lining the abdominal cavity—this membrane can impart a strong, oily flavor if left intact, so scrape it away with a spoon or your thumbnail. Take Me Fishing recommends this optional but worthwhile step for cleaner flavor.
Gutting: Remove the Viscera Cleanly
Place the fish on a clean cutting board, belly facing you. Insert the knife tip near the anal opening at the rear of the belly. Cut upward in a shallow motion along the center line toward the gills, keeping the blade shallow enough to avoid puncturing intestines or bile sacs. Puncturing these releases fluids that contaminate the meat and create off-flavors.
Once the belly is open from anus to gills, remove the guts by hand or with a spoon. Work deliberately and note the organs: the gills are dark red, the stomach typically white or tan, the air bladder translucent. Cut out the anus in a V-shaped notch to prevent fecal material from contaminating the cavity. Remove the kidney, a dark red tissue along the backbone.
Rinse the abdominal cavity thoroughly under cold running water, ensuring all blood and material are gone. Dark blood deposits oxidize and create off-flavors, so be thorough. The flesh inside the body cavity should look clean and pale when finished. Pat the exterior dry with a clean cloth before moving to the next step.
Safety note: Fish fins are sharp and can inflict puncture wounds. Handle carefully and pay attention when learning these techniques.
Pin bones angle toward the head of the fish. Pull upward and slightly backward, not perpendicular to the fillet. The angle matters because pulling against the grain strips meat away; pulling with the grain removes the bone cleanly.
Two Methods to Fillet: Backbone Out or Skin-On
Filleting separates boneless (or nearly boneless) slabs of meat from the skeleton and skin. There are two practical approaches: the backbone-out method, which removes the skeleton intact, and the skin-first method, which removes skin before final cuts. Choose based on your fish type and preference.
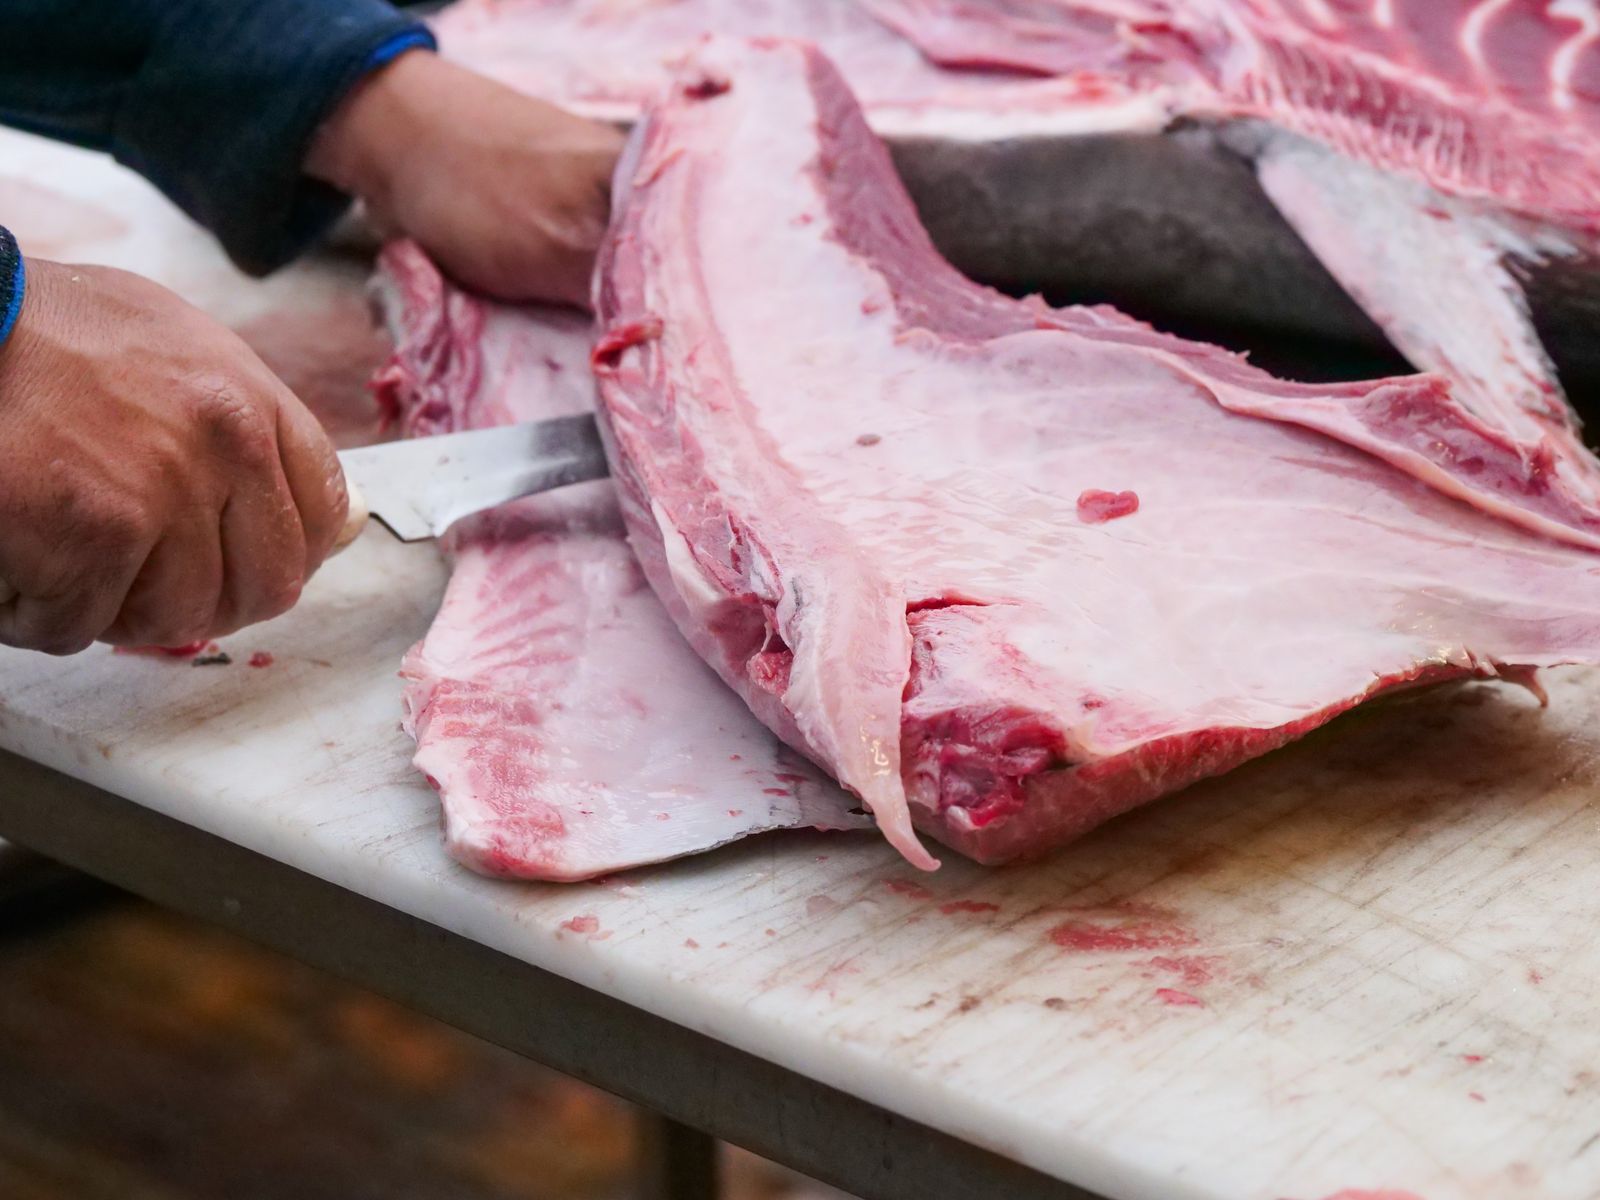
**Method One: Backbone-Out Filleting** Lay the fish on its side. Raise the pectoral fin (the small fin behind the gill) and position your knife just behind it and the gill plate. Cut down through the body cavity to the backbone, angling slightly toward the tail. Turn the blade parallel to the backbone and cut along the length of the spine toward the tail, using the backbone as a guide. The fillet comes free as one piece.
Flip the fish and repeat on the other side. Once both fillets are removed, place each fillet skin-down on the board. Insert your knife blade at a shallow angle between the rib bones and skin, then slice the rib cage away from each fillet using a sawing motion. This requires precision to avoid removing excess meat.
**Method Two: Skin Removal Before Final Cuts** After the initial cut behind the gills and down to the backbone, angle your knife half an inch from the tail. Grip the tail section firmly. Insert the blade between the skin and meat at a shallow angle, then use a sawing motion—cutting against the skin, not through it—to separate the fillet. The skin stays behind on the board; the boneless fillet comes away clean. Repeat on the second side.
Both methods yield usable fillets. The backbone-out approach is faster for experienced hands and leaves the skeleton intact for stock. Skin-first is more intuitive for beginners and delivers boneless fillets with less rib work. Practice both to find what suits your hands.
Remove Pin Bones for a Clean Finish
Larger fish like salmon and some cod contain pin bones: calcified ligaments embedded in the thickest part of the fillet, running from the shoulder toward the center. These small, thin bones are easy to miss and deeply unpleasant if discovered during eating. Removing them takes minutes and guarantees a professional result.
Lay a fillet skin-side down. Press your fingertips gently along the thickest section of meat, about one-third in from the head end. You'll feel the bone tips protruding a few millimeters above the surface, spaced an inch or so apart. Grab the exposed tip with fish bone pliers (the best tool), tweezers, or needle-nose pliers. Never use bare fingers for force; pliers provide the grip and control needed.
This is critical: pull in the direction the bone is pointing, not straight up. Pin bones angle toward the head of the fish. Pull upward and slightly backward (toward the head), not perpendicular to the fillet. The angle matters because pulling against the grain strips meat away; pulling with the grain removes the bone cleanly. You'll feel resistance as it breaks free.
Complete a final pass with your fingers to ensure none remain. A single overlooked pin bone ruins the eating experience and damages trust in your preparation.
Rinse, Dry, and Store
Rinse finished fillets under cold running water and pat them dry with a clean cloth or paper towel. Moisture on the surface promotes bacterial growth and prevents proper browning when cooked, so this step is essential, not cosmetic.
Keep fish cold: store fillets in sealed plastic bags and cover with ice in a shallow pan in the coldest part of your refrigerator (32–40°F). Fresh fillets last 1–2 days this way. For longer storage, wrap tightly in moisture-proof paper or plastic and freeze at 0°F or below.
Maintain sanitary practices throughout: wash your hands for at least 20 seconds with soap and warm water after handling raw fish, use easy-to-clean cutting boards (plastic or acrylic are superior to wood), and store raw fish separately from other foods. A clean knife and clean work surface are the difference between a great meal and food poisoning.