The Gear Foundation: Rod, Reel, and Line
A beginner's surf fishing setup begins with three core components, each chosen for function rather than flash. Start with a rod between 10 and 12 feet long in medium-heavy action. Longer rods help you achieve distance on casts, but anything beyond 12 feet becomes unwieldy for newcomers—the leverage advantage disappears when you're fighting rod fatigue. A 10-footer is a practical middle ground for most anglers.
Pair it with a saltwater spinning reel in the 4500 to 6500 size range, fully sealed with a triple-disc drag system to withstand salt spray and corrosion. This reel size matches the rod's power and handles the casting weights you'll encounter—typically 2 to 6 ounces for common rigs.
For line, beginners have two options. Monofilament (12- to 20-pound test) offers good stretch and forgiving handling, making it easier to learn without line twist or overruns. Braided line (20- to 30-pound test) is thinner, stronger, and casts farther, but demands more technique. Either works; mono is gentler on mistakes. Add a 24- to 36-inch fluorocarbon leader (20- to 40-pound test) tied with a reliable knot—the improved clinch knot or Palomar knot both work well.
Before your first cast, verify your rod's line and weight ratings, printed on the blank. Never exceed these limits; overpowering a rod with too much weight will crack it.
Fish are not randomly distributed along a beach; they concentrate in specific structures where food accumulates and currents provide cover.
The Fish Finder Rig: Versatility for Multiple Species
The fish finder rig stands as one of the most effective rigs for saltwater surf fishing because it allows fish to take bait with minimal resistance, reducing hookup rejection. The design is straightforward: a sliding sinker above the hook, held in place by a swivel and leader system, keeps weight separate from the bite point.
Build it this way: Thread a size #6 duolock sinker slide onto your main line, then attach a 2- to 8-ounce pyramid or bank sinker. Tie a 75-pound barrel swivel below the slide, then attach a 20- to 28-inch piece of 20- to 40-pound fluorocarbon leader to the swivel's other end, terminating in a 2/0 to 8/0 octopus hook (size varies by target species). If using braided line, use a black nylon slide clip instead of standard plastic—braid cuts through cheap slides over time.
This rig works for pompano, whiting, drum, and larger species. Scale hook sizes down for small fish like pompano (2/0 to 3/0) and up for drum or sharks. The sliding mechanism allows a pompano to grab bait and move without feeling sinker drag, critical for this finicky species.
The Pompano Rig: Purpose-Built for a Premium Catch
Pompano—a schooling fish prized for fighting ability and table quality—demands specific rigging. The pompano rig is simpler than the fish finder: tie a 2/0 circle hook to a 12- to 15-pound fluorocarbon leader, attach that leader to your main line via a swivel, and use a pyramid sinker (1/2 to 2 ounces depending on conditions) on a separate dropper above the swivel.
Circle hooks are non-negotiable here. They hook pompano in the corner of the mouth rather than deep in the throat, increasing release survival if you choose to practice catch-and-release. Sand fleas are the premier pompano bait—hunt them in the swash zone during outgoing tide. Look for small V-shaped patterns in wet sand where they've buried themselves; scoop quickly with your hands or a colander and keep them cool in moist sand (never submerged water, which suffocates them). Shrimp and clams work as backup baits.
Pompano fishing peaks from November through March. Target the last hours of incoming tide or the first two hours of falling tide for maximum activity.
Incoming tide brings food into the shallows and activates fish—this is typically the best window, especially the last two hours before the tide peaks.
Reading the Beach: Sandbars, Troughs, and Cuts
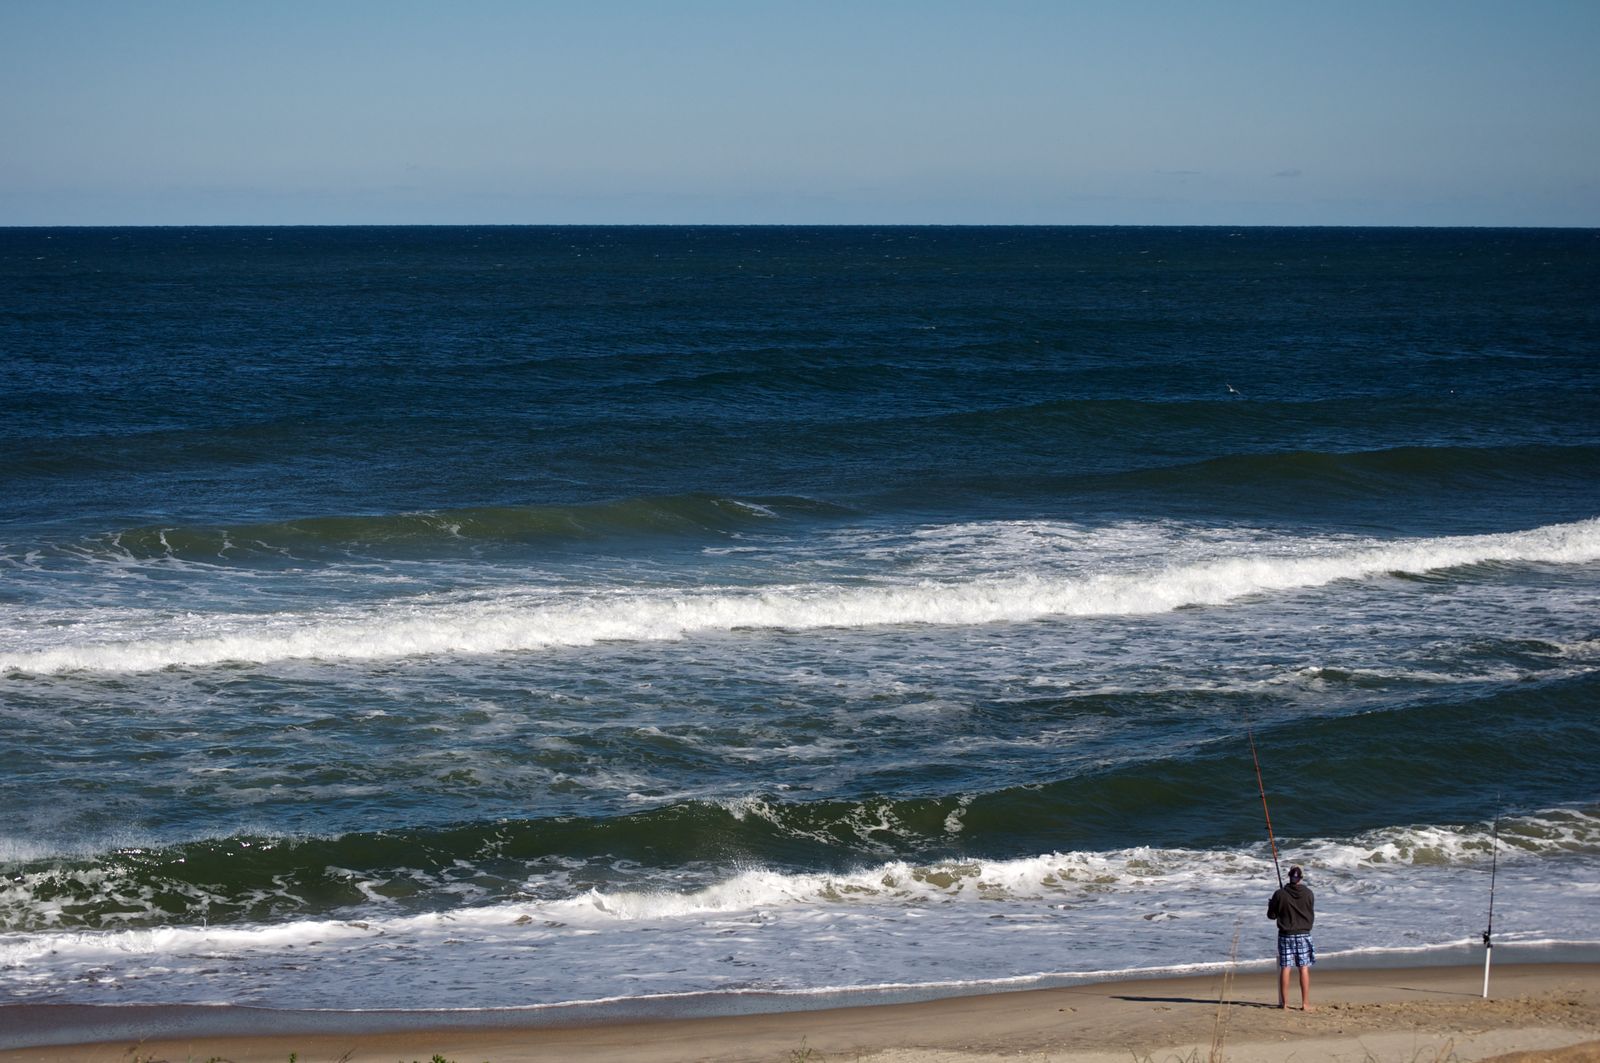
Fish are not randomly distributed along a beach; they concentrate in specific structures where food accumulates and currents provide cover. Understanding three key formations dramatically improves catch rates.
Sandbars are large offshore ridges of sand built by wave action. Spot them by watching waves: if a large breaker forms far offshore, builds up, then collapses into smaller waves in calmer water before reaching shore, you've found a bar. These shallow ridges funnel baitfish and concentrate predators.
Troughs are deeper channels between a sandbar and the shoreline. Fish love troughs because they provide escape routes from breaking waves while positioning them to intercept food washing over the nearby bar. Look for large waves that crest, break, then ease to still water before crashing at your feet—that still section is the trough.
Cuts are deeper passages between adjacent sandbars. Identify them by watching where waves don't break: if all other offshore areas show cresting waves but one section stays smooth, water is flowing through a cut. Fish use cuts as highways, and baitfish shelter there. Cast into the calm zone and let the current drift your bait through—it's a feeding opportunity.
Scout during low spring tide, which occurs just after full and new moons, exposing more of the seafloor. Use these periods to memorize your beach's layout so you know where to fish when water levels rise and cover becomes harder to spot.
Tide, Bait, and Casting: The Mechanics of Success
Tides drive everything in saltwater fishing. Incoming (flood) tide brings food into the shallows and activates fish—this is typically the best window, especially the last two hours before the tide peaks. Falling (ebb) tide is productive for the first hour or two as fish feed on bait being swept seaward. Dead slack water (the brief moment between tide changes) is slower.
Natural baits dominate surf fishing. Beyond sand fleas, live shrimp work for pompano and other inshore species; clams catch striped bass, drum, and flounder; and fresh mullet or pilchard appeal to aggressive species like bluefish. If you're new to catching live baits, buy them pre-packaged from a tackle shop initially, then progress to net-catching or hand-digging.
Casting technique improves distance and accuracy significantly. The overhead cast is most accurate: reel your bait close to the rod tip, open the bail with your index finger gripping line, and push the rod forward rapidly while releasing the line at the target (roughly eye level). Snap the rod butt downward as the rod tip extends for extra power in wind. Keep your reel spool full to within 1/8 inch of the rim—a fuller spool reduces friction and adds distance. Close the bail manually after landing to prevent line twist that kills casting ability.
Cast beyond visible structure into the troughs and cuts, then work the bait slowly with small rod twitches to trigger bites. Patience is discipline here—fish don't always bite immediately.
Licenses and Local Regulations
Before wetting a line, check your state's fishing license requirements. Nearly every coastal state requires a saltwater license for anglers 16 and older, though children under 16 typically fish free. Some states offer free or reduced licenses for seniors (typically 65+) and active military. Most states host free fishing days around National Fishing and Boating Week (June) and other seasonal events—use these to learn without cost.
License fees vary by state: Florida nonresidents pay $30 for seven days or $47 for a year; many states offer similar pricing. Some states have reciprocal agreements allowing anglers to fish border waters with a home-state license—verify these at your state fish and wildlife agency's website. Beyond the license, check species-specific regulations. Some fish have seasonal closures, size minimums, and daily catch limits. NOAA Fisheries publishes federal rules; your state agency maintains state-specific rules. Ignorance of these is no excuse—violations carry fines.